


Food-grade silicone jewelry simulation gemstone production
Preliminary preparation
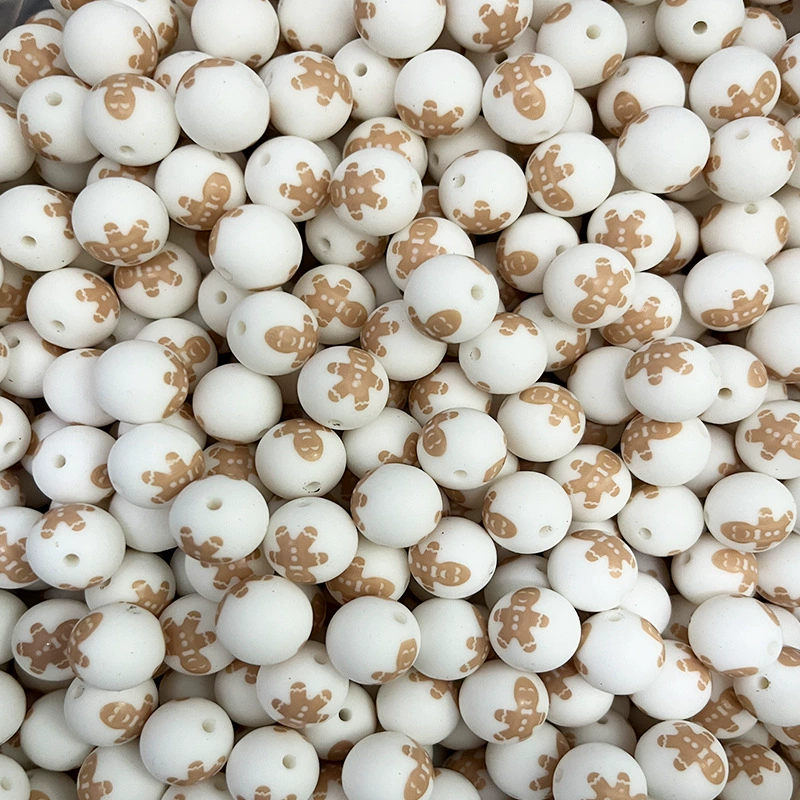
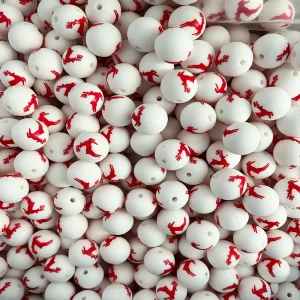
Material selection: Food-grade silicone is selected as the main material. It features excellent electrical properties and chemical stability, physiological inertness, non-toxicity, odorlessness, safety and environmental friendliness. It has passed relevant food-grade certifications and can be used for a long time in an environment ranging from -60℃ to 200℃ while maintaining softness and elasticity. Moreover, its color, hardness, viscosity and operation time can all be adjusted as needed. It is also necessary to prepare suitable resin materials, such as special resins for artificial jade with high transparency, moderate hardness and good resistance to yellowing. Common ones include polyurethane resin and epoxy resin, etc. And various color pastes corresponding to the colors of jade, such as emerald green, milky white, light yellow, etc., are used to blend the realistic colors of jade.
Tool preparation: Prepare an electronic scale for precisely weighing raw materials such as resins, curing agents, and color pastes. The accuracy should reach 0.1 grams or higher to ensure the accuracy of the ingredient ratio. Stirring rods, either glass rods or plastic rods are acceptable. They should be hard in texture, not prone to deformation, and no impurities should be introduced during the stirring process. Vacuum machine (optional), if conditions permit, can be used for deaeration treatment to reduce bubble defects in the finished product and enhance the transparency and texture of the simulated gemstone. If there is no vacuum machine, simple methods such as standing still and vibration can also be used for deaeration. Tools and sandpaper are used for the later finishing and grinding of the simulated gemstone blanks. The sandpaper should be fully prepared from coarse to fine (such as 80 mesh, 240 mesh, 600 mesh, 1000 mesh, 2000 mesh) to meet the grinding requirements at different stages. Measuring cups and droppers are used for accurately measuring liquid raw materials. Droppers can be used to precisely add a small amount of color paste to fine-tune the color. The mold frame can be made of wood, acrylic sheet or metal strip to construct the shape and outline of the mold. The size is designed according to the size of the required simulated gemstone product to ensure there is a certain margin to accommodate the silicone and the model.
Design concept: Determine the style of the simulated gemstone you want to make, such as rings, jewelry, fine castings and other handicrafts. You can refer to ancient jade articles, modern artworks or create your own creative designs. Draw sketches to clearly define the dimensions, shapes and decorative details of each part to ensure that the subsequent production follows a set pattern. If you are not good at engraving, you can also use 3D printing technology. First, use 3D modeling software (such as Rhino, ZBrush, etc.) to create a digital model based on the design drawing. After adjusting the details, use a 3D printer to output a solid prototype with printable materials such as PLA and photosensitive resin. After printing, perform a simple grinding treatment on the surface of the model. Remove the marks left by the supporting structure to make its surface smooth and flat, which serves as the foundation for formwork flipping.
Production process
Model fixation: Place the completed prototype at the center of the mold frame to ensure it is stable and does not shake. You can use hot melt adhesive, gypsum paste, etc. for auxiliary fixation, but be careful not to block the key details of the prototype that need to be replicated to ensure that the silicone can completely wrap all sides of the prototype.
Silicone gel blending and degassing: According to the silicone gel product manual, accurately weigh the main silicone gel agent and curing agent by weight. Generally, the ratio is between 100:2 and 100:3, with slight differences among different brands. Pour both into a clean container and stir slowly and evenly with a stirring rod. Be careful not to mix in air to form bubbles. The stirring time is usually 3 to 5 minutes until the color of the silica gel is uniform and consistent, presenting a fine and lump-free fluid state. Slowly pour the prepared silicone into the mold frame, starting from one side and gradually allowing the silicone to flow naturally to cover the prototype, ensuring a uniform thickness of the silicone layer. Generally, the thickness of the silicone for small molds is 3-5 millimeters, and for large and complex molds, it can be appropriately thickened to 8-10 millimeters to prevent mold damage during demolding. If necessary, it can be cast in multiple installments to remove the air drawn in during the flow of the silicone. However, the interval between each casting should not be too long to avoid delamination. If a vacuum machine is used, place the mold with the cast silicone into the vacuum box, close the box door, start the vacuum pump, and draw a vacuum degree of about -0.08 to -0.1MPa. Maintain it for several minutes, observe that a large number of bubbles on the surface of the silicone escape. After the silicone no longer bubbles, slowly release the vacuum and let the silicone return to the normal pressure state to fill the pits formed by the bubble discharge. Make the internal structure of the mold dense and compact.
Silicone curing and demolding: Let the mold stand and cure in a normal temperature, dry and well-ventilated environment. The curing time depends on the silicone product instructions, generally ranging from 4 to 24 hours. You can touch the surface of the silicone with your finger. If it does not stick to your hand and has a certain elasticity, it indicates that it is basically cured. Carefully remove the mold frame, apply an appropriate amount of release agent along the edge of the mold, gently pry the prototype, and slowly remove the prototype from the silicone mold. During the demolding process, the movements should be gentle to avoid damaging the mold and the prototype, and obtain a complete silicone mold. Check the internal cavity of the mold to ensure there are no defects and the details are clear and complete. If there are any defects, they can be repaired with silicone repair agent before use.
Resin mixing and casting: Use an electronic scale again to weigh the resin and curing agent in proportion. For example, the common ratio of epoxy resin to curing agent is 2:1 to 3:1. Stir thoroughly and evenly. The stirring process should be controlled within 1-2 minutes to prevent excessive heat generation due to prolonged stirring, which may cause the resin to cure prematurely. According to the desired color of the jade, use a dropper to add the color paste drop by drop into the resin, stirring while adding and observing the color change. Add it in small amounts multiple times until the color of the jade close to the target is mixed. For example, when making jadeite simulation gemstones, you can first add an appropriate amount of emerald green as the main color tone, and then add a small amount of light yellow and white for fine adjustment to simulate the color layering of natural jadeite. Slowly pour the deaerated resin into the cavity of the silicone mold, also from one side, to avoid generating new bubbles until the resin completely fills the mold. If necessary, gently shake the mold during the casting process to assist the resin in flowing and expel fine bubbles. After the casting is completed, if the mold has gates, vent holes, etc., a small amount of resin and paper towels can be used to seal them. Prevent resin overflow and impurities from entering.
Resin curing and demolding According to the curing characteristics of the resin, the cast mold should be placed in a suitable environment for curing. The curing time at room temperature may be relatively long (several hours to one day). If you want to speed up the process, heating curing can be adopted, but the temperature must be strictly controlled, generally not exceeding the maximum curing temperature allowed by the resin (usually 60-80 ℃), to avoid problems such as resin discoloration, deformation, and cracking due to overheating. When the resin is completely cured and the internal product feels hard and inelastic upon touching the mold, the demolding operation can be carried out. Carefully remove the silicone mold and take out the rough imitation gemstone.
Post-processing
Finishing and grinding: Use a tool to remove excess parts such as the casting mouth and flash. Be careful not to scratch the surface of the product. For some minor flaws and bubble holes, use resin repair paste to fill and fill them up. After the repair, grind it smooth to make it blend naturally with the surrounding surface. Use sandpapers of different mesh sizes in sequence to polish the simulated gemstones, starting from the low mesh size, such as 80-mesh sandpaper to initially remove the rough layer on the surface. During the polishing process, follow one direction with uniform force to avoid overly deep or cross-confused grinding marks. Gradually replace the sandpaper with higher mesh sizes, such as 240 mesh, 600 mesh, 1000 mesh, and 2000 mesh. Each time the sandpaper is changed, rotate the grinding direction by 90° to make the surface scratches finer and finer. Eventually, a mirror-like smooth effect will be achieved, presenting a warm and lustrous texture similar to that of jade.
Polishing and aging (optional) : If you want a higher gloss, you can use polishing paste in combination with a polishing cloth wheel for mechanical polishing after grinding, or apply polishing paste by hand and wipe repeatedly to make the surface of the simulated gemstone bright and dazzling. If you need to make imitation gemstones with an antique effect, you can carry out aging treatment after grinding and polishing. Common methods include soaking and wiping with tea water, coffee, or chemical reagents (such as potassium permanganate solution, sodium sulfide solution, etc., but safety precautions and environmental protection requirements should be noted when using chemical reagents) to simulate the color penetration and patching effect of jade under the erosion of time. The soaking time and solution concentration should be adjusted according to the expected degree of aging test, and then washed and dried.


Leave a reply