


The weaving method of silicone bead bracelets
How to Weave a Silica Gel Bead Bracelet: Step-by-Step Guide
Creating a silica gel bead bracelet combines creativity with simple weaving techniques. These lightweight, colorful beads are perfect for crafting personalized accessories. Whether you’re a beginner or looking to refine your skills, here’s a detailed guide to help you weave a stylish bracelet from start to finish.
Choosing the Right Materials and tools
Selecting Silica Gel Beads
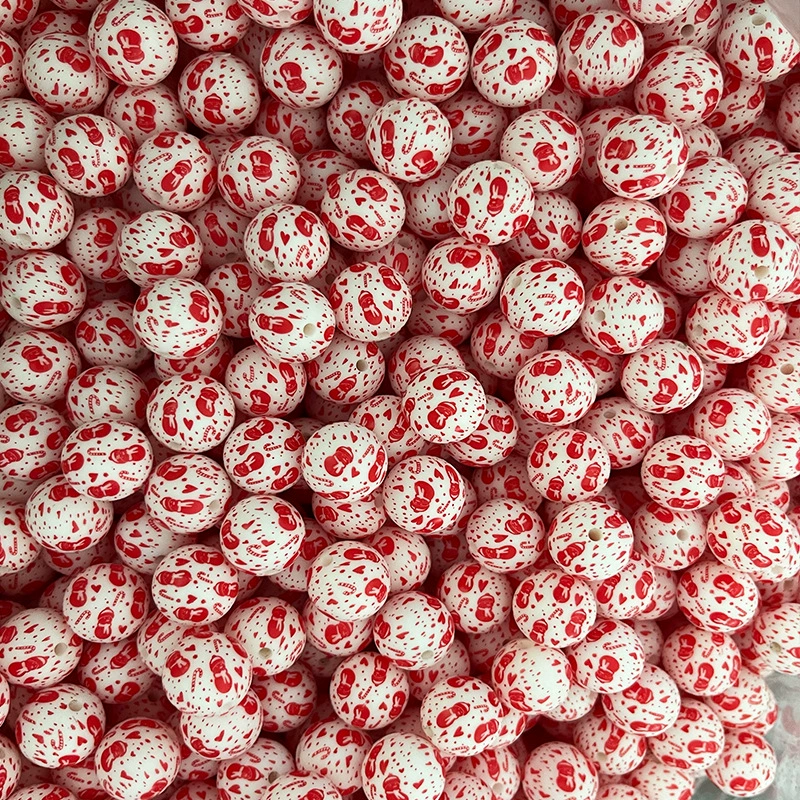
Silica gel beads come in various sizes, shapes, and colors. For bracelets, opt for 4–8mm spherical beads—they’re easy to handle and create a uniform look. Mix translucent and opaque beads for visual interest, or stick to a monochrome palette for a minimalist design. Ensure the beads are clean and free of dust before starting.
Gathering Essential Tools
You’ll need a few basic tools to weave your bracelet:
- Nylon or elastic cord: Choose a thickness that fits snugly through the beads (0.5–1mm works well).
- Scissors: For cutting the cord to length.
- Tape or clipboard: To secure the cord while weaving.
- Beading needle (optional): Helps thread beads onto stiff cords.
Basic Weaving Techniques for Beginners
Simple Single-Strand Bracelet
This method is ideal for first-time weavers.
- Measure the cord: Wrap it around your wrist loosely and add 4–6 inches for knotting and adjustments.
- Secure one end: Tape the cord to a flat surface or use a clipboard to hold it in place.
- Thread beads: Slide beads onto the cord in your chosen pattern. For example, alternate colors or create a gradient effect.
- Knot the ends: Once the bracelet fits your wrist, tie a double knot and trim excess cord. Hide the knot inside a bead or add a drop of clear glue for extra security.
Creating a Stretchy Bracelet
Elastic cord allows for easy on-and-off wear.
- Cut the cord: Use a length slightly shorter than your wrist measurement to ensure a snug fit.
- String beads: Arrange them in your desired sequence, leaving 1–2 inches of cord free at each end.
- Tie a surgeon’s knot: Overlap the cord ends and make two loops, then pull tight. Add a dab of glue to the knot and tuck it inside a bead.
- Test the fit: Gently stretch the bracelet to ensure it sits comfortably without slipping off.
Advanced Patterns and Designs
Alternating Bead Sizes for Texture
Combine small and large beads to add depth to your bracelet.
- Plan the pattern: Decide on a repeating sequence, such as “small-large-small” or “two small, one large.”
- Thread carefully: Use a beading needle if the larger beads have narrow holes. Adjust the cord tension to keep the design even.
- Finish neatly: End with a knot hidden inside a larger bead to maintain a polished look.
Incorporating Spacers or Charms
Spacers (tiny metal or plastic beads) and charms can elevate your design.
- Add spacers: Place them between larger beads to create definition. For example, use a silver spacer after every three colored beads.
- Attach charms: Thread a jump ring through the charm’s loop and onto the cord before adding beads. Position it at the center or end of the bracelet.
- Secure firmly: Double-check that charms and spacers are tightly threaded to avoid shifting during wear.
Tips for Troubleshooting Common Issues
Beads Slipping Off the Cord
If beads slide off while weaving:
- Use a beading needle to guide stiff cords through small holes.
- Knot the cord temporarily after every few beads to hold them in place.
- Switch to a thicker cord if the beads’ holes are too large.
Uneven Tension or Loose Design
To fix a wobbly bracelet:
- Pull the cord gently after each bead to maintain consistent tension.
- Avoid overstretching elastic cord—it may lose elasticity over time.
- If the design looks lopsided, undo the last few beads and rethread them with more care.
Knots Coming Undone
Prevent knots from loosening:
- Use a surgeon’s knot (a reinforced square knot) for elastic cord.
- Add a drop of clear nail polish or fabric glue to the knot and let it dry completely.
- Tuck the knot inside a bead or charm to protect it from friction.
Customizing Your Bracelet for Different Styles
Layering Multiple Strands
Create a bold look by weaving two or three bracelets together.
- Weave each strand separately: Use the same or complementary patterns.
- Braid or twist them: Hold the strands together and braid loosely, or twist them gently for a textured effect.
- Secure the ends: Tie all strands together with a single knot and trim evenly.
Adding Adjustable Clasps
For a professional finish, attach a lobster clasp or toggle.
- Use jewelry wire or sturdy cord: Thread it through a crimp bead, then attach the clasp.
- Hide the crimp: Cover it with a bead or a crimp cover for a seamless look.
- Test the closure: Ensure the clasp opens and closes smoothly before wearing.
With these techniques, you can craft silica gel bead bracelets that suit any occasion or personal style. Experiment with colors, patterns, and embellishments to make each piece uniquely yours.


Leave a reply