


Steps for making a silicone bead necklace
How to Make a Silica Gel Bead Necklace: A Step-by-Step Crafting Guide
Creating a silica gel bead necklace is a fun, budget-friendly way to design custom jewelry. These lightweight, vibrant beads are perfect for crafting statement pieces or delicate accessories. Whether you’re new to jewelry-making or an experienced crafter, this guide will walk you through the process of designing and assembling a beautiful necklace from scratch.
Gathering Your Materials and Tools
Selecting Silica Gel Beads
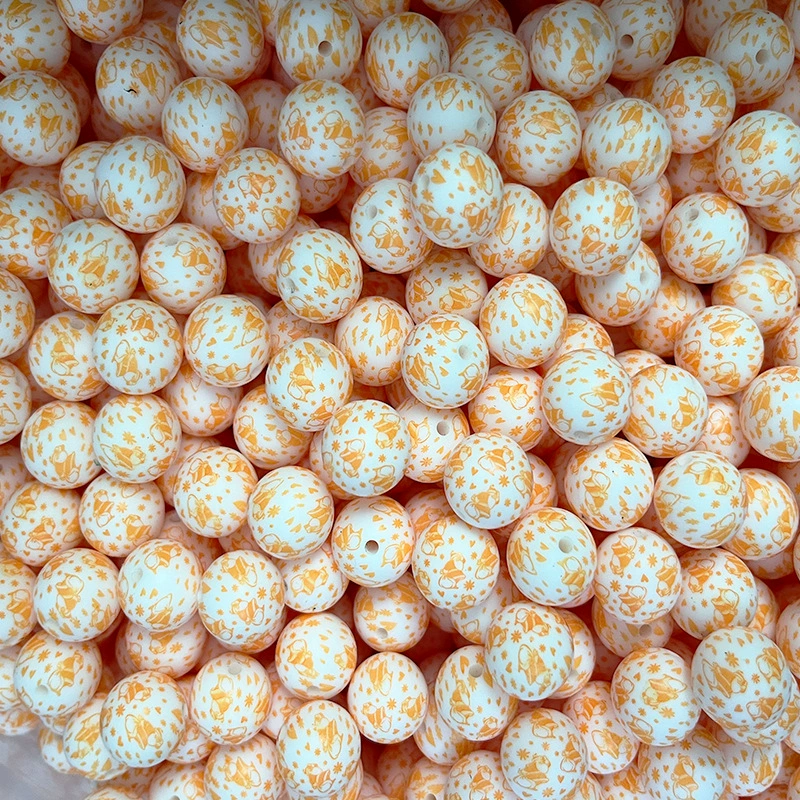
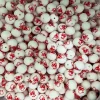
Silica gel beads come in a variety of shapes, sizes, and colors. For necklaces, consider using 6–10mm spherical beads for a balanced look, or mix in faceted or irregular shapes for texture. Choose a color palette that matches your style—pastels for a soft vibe, bright hues for a bold statement, or metallic finishes for elegance. Ensure the beads are clean and free of debris before starting.
Choosing the Right Cord or Thread
The cord you select will determine the necklace’s durability and flexibility. Options include:
- Nylon cord: Strong and slightly stretchy, ideal for beginners.
- Elastic cord: Perfect for necklaces that slip over the head without a clasp.
- Beading wire: Thin and stiff, great for intricate designs or heavy beads.
- Leather or suede cord: Adds a rustic touch and works well with larger beads.
Essential Tools for Assembly
You’ll need a few basic tools to streamline the process:
- Scissors: For cutting cord to length.
- Beading needle (optional): Helps thread stiff cords through small bead holes.
- Tape or clipboard: To secure the cord while weaving.
- Clasps and jump rings (if needed): For necklaces with adjustable closures.
Designing Your Necklace Pattern
Planning a Simple Single-Strand Design
A single-strand necklace is the easiest style to start with.
- Decide on a pattern: Will you use alternating colors, a gradient effect, or random placement? Sketch your design on paper or lay beads out in sequence to visualize the final look.
- Measure the cord: Wrap the cord around your neck loosely, leaving extra length for knotting and adding a clasp (if using). For a choker, aim for 14–16 inches; for a longer necklace, 18–24 inches.
- Secure the cord: Tape one end to a flat surface or use a clipboard to hold it steady while you thread beads.
Creating a Multi-Strand or Layered Necklace
For a more intricate look, combine multiple strands.
- Weave each strand separately: Use the same or different patterns for each cord. For example, one strand could feature solid-colored beads, while another uses mixed shapes.
- Vary the lengths: Cut each cord 1–2 inches shorter than the previous one to create a layered effect when worn.
- Attach all strands together: Use a jump ring or a large bead to connect the ends of all cords at the back of the necklace.
Assembling the Necklace Step by Step
Threading Beads onto the Cord
- Start at one end: If using a clasp, tie it to one end of the cord with a secure knot (or use a crimp bead for beading wire).
- Add beads in sequence: Follow your chosen pattern, sliding each bead onto the cord. If the beads are small or the cord is stiff, use a beading needle to guide it through.
- Check tension: Pull the cord gently after each bead to keep the design even. Avoid overtightening, which can warp the pattern.
Adding Spacers or Charms for Detail
Spacers (tiny beads or metal discs) and charms can enhance your necklace’s visual appeal.
- Place spacers strategically: Insert a spacer between every few beads to create definition. For example, use a silver spacer after every three colored beads.
- Attach charms: Thread a jump ring through the charm’s loop and onto the cord before adding beads. Position it at the center of the necklace for a focal point or near the clasp for a subtle accent.
- Secure firmly: Ensure spacers and charms are tightly threaded to prevent shifting during wear.
Finishing the Necklace with Clasps or Knots
- For cord with clasps: Once all beads are threaded, tie the other end of the cord to the second half of the clasp. Use a double knot and add a drop of clear glue for extra security. Trim excess cord.
- For elastic cord: Tie a surgeon’s knot (a reinforced square knot) at the ends once the necklace fits comfortably over your head. Hide the knot inside a large bead or add a dab of glue to keep it in place.
- For beading wire: Use crimp beads to secure the ends. Thread the wire through a crimp bead, then through the clasp, and back through the crimp bead. Squish the crimp bead flat with pliers and trim excess wire.
Customizing Your Necklace for Different Styles
Incorporating Pendants or Focal Beads
A large pendant or focal bead can transform a simple necklace into a statement piece.
- Choose a centerpiece: Select a bead or pendant with a hole large enough to fit your cord.
- Design around it: Thread smaller beads on either side of the pendant to frame it. For example, use graduated bead sizes leading up to the focal point.
- Balance the design: Ensure the pendant sits at the center of the necklace by adjusting the number of beads on each side.
Adjusting the Necklace Length
Necklaces come in various lengths to suit different necklines and preferences.
- Choker style: Keep the cord short (14–16 inches) for a snug fit around the base of the neck.
- Princess length: Aim for 17–19 inches to sit just below the collarbone—a versatile option for most outfits.
- Operatic or rope length: Go for 28–36 inches or longer for a dramatic look that can be worn doubled or layered.
Experimenting with Color Combinations
Play with colors to match your wardrobe or create a mood.
- Monochromatic: Use beads in the same color family (e.g., light blue, teal, navy) for a cohesive look.
- Complementary colors: Pair hues opposite each other on the color wheel (e.g., purple and yellow) for vibrant contrast.
- Neutral tones: Stick to black, white, gray, or beige for a timeless, understated accessory.
By following these steps, you can craft a silica gel bead necklace that reflects your personal style and creativity. Whether you prefer bold, colorful designs or delicate, minimalist pieces, the possibilities are endless. Start experimenting with different patterns, colors, and embellishments to make each necklace uniquely yours.


Leave a reply