


Silicone bead bag hanger DIY
DIY Silicone Bead Bag Charms: A Creative Guide to Personalizing Your Accessories
Bag charms are a fun way to add personality to your favorite handbags, backpacks, or even keys. Silicone beads, with their vibrant colors and soft texture, are perfect for crafting unique and durable charms. Whether you’re a beginner or an experienced crafter, this guide will walk you through creating your own silicone bead bag charms step by step.
Gathering Your Supplies
Before you start, it’s important to have all the necessary materials on hand. Here’s what you’ll need:
Essential Tools and Materials
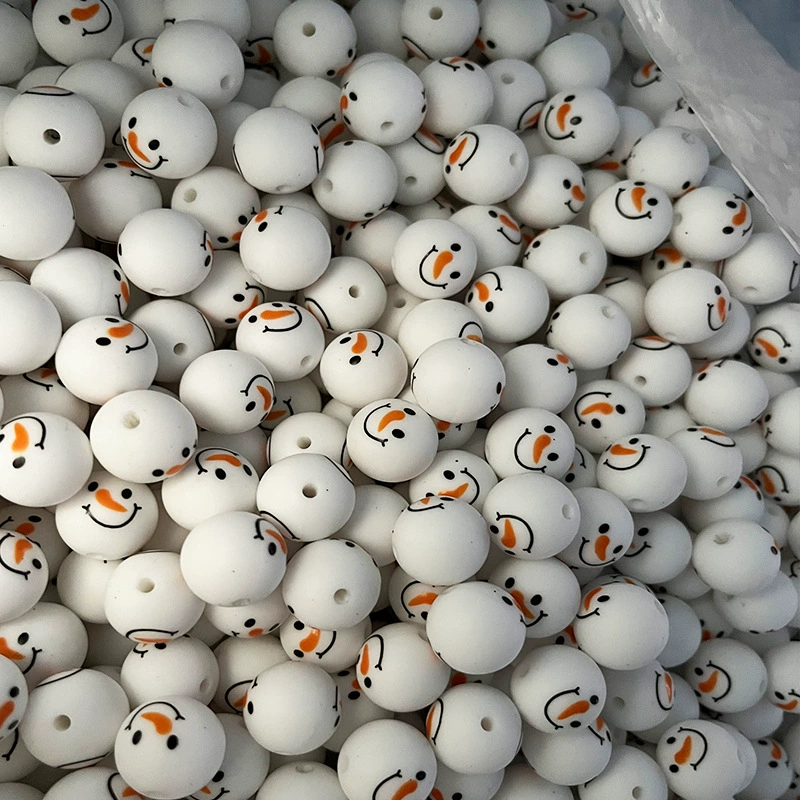
- Silicone beads in various shapes and sizes (round, star-shaped, animal-shaped, etc.)
- Strong cord or string (nylon, leather, or cotton work well)
- Scissors or sharp craft knife (for cutting the cord)
- Jump rings or small metal rings (for attaching the charm to your bag)
- Optional: decorative elements like tassels, small charms, or bells
Choosing the Right Beads
Select beads that match your style or the theme of your bag. For a playful look, mix bright colors and whimsical shapes. If you prefer a more elegant charm, stick to neutral tones and simple designs. The possibilities are endless!
Designing Your Bag Charm
The design phase is where you can let your creativity shine. Consider the following tips to create a charm that stands out:
Planning the Layout
Lay out your beads on a flat surface to visualize the design. Experiment with different arrangements until you find one you love. You can create a symmetrical pattern, a random mix, or even spell out initials using letter-shaped beads.
Adding Decorative Touches
Enhance your charm by incorporating additional elements like tassels or small bells. These can be attached directly to the cord or placed between beads for extra movement and sound. If you’re using metal charms, ensure they’re lightweight to avoid weighing down the cord.
Assembling the Charm
Now that you have your design planned, it’s time to put it all together. Follow these steps for a secure and professional-looking charm:
Cutting the Cord
Measure and cut a length of cord that’s long enough to accommodate all your beads plus a little extra for tying knots or attaching jump rings. A good rule of thumb is to start with a piece about 12–15 inches long, depending on the size of your design.
Stringing the Beads
Thread the beads onto the cord in the order you planned. If you’re using a pattern, double-check that each bead is in the right place before moving on. For added security, you can place a small drop of clear glue inside the bead holes to prevent them from sliding around.
Securing the Design
Once all the beads are on the cord, tie a strong knot at each end to hold them in place. If you’re adding tassels or charms, attach them to the cord using jump rings or by tying them directly onto the knot. Make sure the knots are tight and won’t come undone with use.
Attaching the Charm to Your Bag
The final step is to attach your charm to your bag or keys. Here’s how to do it safely and securely:
Using Jump Rings
Open a jump ring by twisting it slightly with pliers (avoid pulling it apart, as this can weaken the metal). Thread the jump ring through the loop at the top of your charm and then attach it to a bag strap, zipper pull, or keyring. Close the jump ring by twisting it back into place.
Alternative Attachment Methods
If you don’t have jump rings, you can tie the charm directly onto your bag using a small piece of cord or ribbon. Create a loop at the top of your charm and knot it around the bag’s hardware or fabric. For a more permanent solution, sew the charm onto the bag using a needle and thread.
Exploring Advanced Techniques
Once you’ve mastered the basics, you can try more advanced techniques to take your bag charms to the next level:
Creating Layered Charms
Combine multiple strands of beads to create a layered effect. Use different lengths of cord and vary the bead sizes for a dynamic look. Attach all the strands to a single jump ring at the top for a cohesive charm.
Incorporating Macramé Knots
Add texture to your charm by using macramé knots between beads. Simple knots like the square knot or half-hitch can create interesting patterns and hold the beads in place without glue. There are plenty of online tutorials to help you learn these techniques.
Customizing with Paint or Markers
If you want to add a personal touch, consider painting or drawing on some of the beads before assembling your charm. Use non-toxic, water-based paints or permanent markers designed for crafting. Let the paint dry completely before stringing the beads to avoid smudging.
By following these steps and experimenting with different designs, you can create beautiful, customized silicone bead bag charms that reflect your style and make your accessories truly unique. Have fun crafting!


Leave a reply