


Silicone beads elastic rope combination
Pairing Silicone Beads with Elastic Cord: A Guide to Creating Durable and Stylish Jewelry
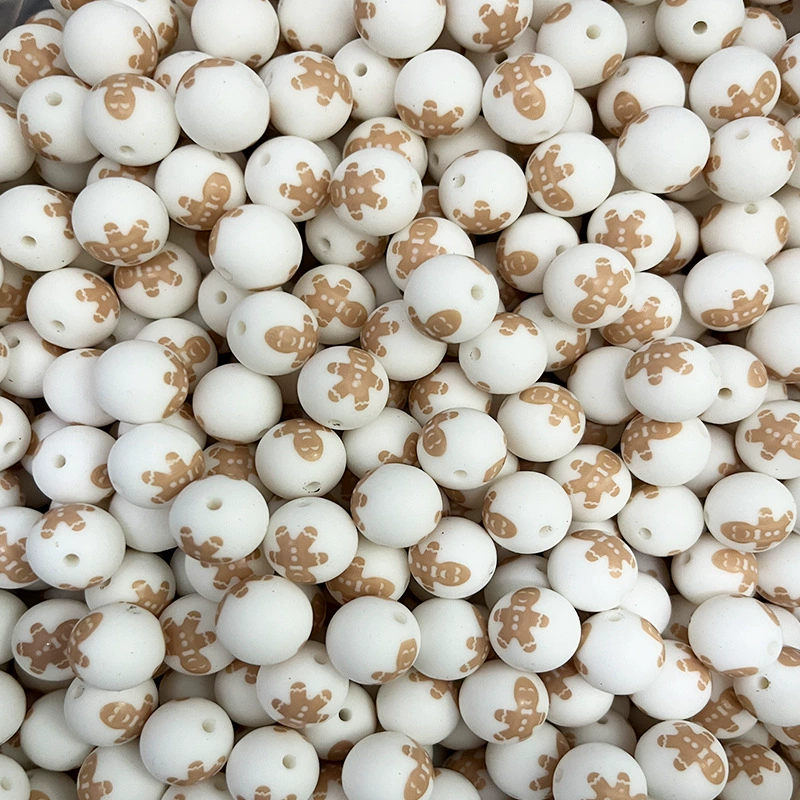
Silicone beads and elastic cord are a popular combination for crafting jewelry like bracelets, anklets, and even chokers. The soft, flexible nature of silicone beads pairs perfectly with the stretchy, comfortable feel of elastic cord, making it easy to create pieces that are both functional and fashionable. However, choosing the right elastic cord and ensuring a secure connection between the beads and cord requires careful consideration. Here’s how to master the art of pairing silicone beads with elastic cord for long-lasting results.
Understanding Elastic Cord Types and Strengths
Elastic cord comes in various materials and thicknesses, each offering unique benefits and limitations. The most common types include polyester, nylon, and rubber-based elastic cords. Polyester elastic cord is known for its durability and resistance to stretching, making it ideal for frequently worn items like bracelets. Nylon elastic cord is softer and more flexible, which can be advantageous for delicate designs or projects requiring a looser fit. Rubber-based elastic cords, often used in children’s jewelry, are highly stretchy but may not hold up as well over time.
When selecting elastic cord for silicone beads, consider the size and weight of the beads. Heavier beads require thicker, stronger cord to prevent breaking or stretching out of shape. Lighter beads can be paired with thinner cord for a more delicate look. Additionally, check the cord’s stretch recovery—the ability to return to its original length after being stretched. High-quality elastic cord should maintain its shape even after repeated use.
Choosing the Right Thickness
- Thin elastic cord (0.5mm–1mm) works well for small, lightweight silicone beads and creates a subtle, elegant look.
- Medium elastic cord (1mm–2mm) is versatile and suitable for most silicone bead sizes, offering a balance of strength and flexibility.
- Thick elastic cord (2mm or more) is best for large, heavy beads or projects that need extra durability, such as anklets or statement necklaces.
Techniques for Stringing Silicone Beads onto Elastic Cord
Stringing silicone beads onto elastic cord is straightforward, but a few techniques can help ensure a secure and professional finish. Start by measuring the desired length of your jewelry piece, adding an extra 2–3 inches to account for tying and securing the knot. Cut the elastic cord to this length using sharp scissors or thread cutters for clean edges.
When threading the beads, slide them onto the cord one at a time, ensuring they sit flush against each other if you want a tight, clustered look. For a more spaced-out design, leave small gaps between the beads. If you’re using a needle to help thread the cord through smaller bead holes, choose one with a fine tip and a large enough eye to accommodate the elastic cord without fraying it.
Creating a Strong Knot
The knot is the most critical part of securing silicone beads onto elastic cord. A weak or poorly tied knot can unravel, causing the beads to scatter. To create a strong knot, follow these steps:
- After threading all the beads, hold both ends of the elastic cord together, ensuring the beads are in the desired position.
- Tie a basic square knot (right over left, then left over right) as tightly as possible without stretching the cord.
- For added security, tie a second or third knot, pulling each one tight against the previous one.
- Apply a small amount of clear nail polish or fabric glue to the knot to prevent it from coming undone. Allow it to dry completely before trimming the excess cord close to the knot.
Tips for Enhancing Durability and Aesthetics
To ensure your silicone bead jewelry lasts as long as possible, incorporate these tips into your crafting process. First, avoid overstretching the elastic cord when stringing the beads or adjusting the fit. Excessive stretching can weaken the cord and lead to breakage over time. Instead, gently guide the beads into place and let the cord settle naturally.
Another way to enhance durability is to use a bead stopper or clip to hold the beads in place while you work. This prevents them from sliding off the cord accidentally and reduces the need to constantly readjust the tension. Additionally, consider adding a few small seed beads or spacer beads between larger silicone beads. These not only add visual interest but also distribute the weight more evenly, reducing strain on the elastic cord.
Storing Your Jewelry Properly
Proper storage can significantly extend the life of your silicone bead jewelry. Avoid hanging elastic cord pieces, as this can cause the cord to stretch out of shape over time. Instead, lay them flat in a jewelry box or drawer, or coil them gently and place them in a small container. Keeping them away from direct sunlight and extreme temperatures also helps prevent the elastic cord from becoming brittle or losing its stretch.
Troubleshooting Common Issues
Even with careful crafting, issues can arise when working with silicone beads and elastic cord. One common problem is the knot slipping or coming undone, which often happens when the cord is too smooth or the knot isn’t tight enough. To fix this, re-tie the knot using the techniques mentioned earlier and reinforce it with glue or nail polish. If the cord continues to slip, try using a cord with a rougher texture or a slightly thicker diameter.
Another issue is the elastic cord stretching out too much over time, causing the jewelry to become loose or saggy. This can occur if the cord is too thin for the weight of the beads or if the piece is worn frequently without proper care. To prevent this, choose a thicker, more durable elastic cord for heavier projects and avoid overstretching the cord during crafting and wear. If your jewelry does become stretched, you may need to restring it with fresh elastic cord.
Addressing Bead Compatibility
Occasionally, silicone beads may have holes that are too small for the elastic cord you’ve chosen, making threading difficult. In this case, you can use a bead reamer to gently widen the hole. Start with a small, tapered reamer and work slowly to avoid damaging the bead. Test the hole frequently by sliding the cord through it to ensure you don’t over-enlarge it. If reaming isn’t an option, consider switching to a thinner elastic cord or using a needle to help thread the cord through the bead.
By understanding the different types of elastic cord, mastering stringing techniques, and incorporating durability-enhancing tips, you can create beautiful, long-lasting jewelry with silicone beads. Whether you’re making a simple bracelet or an elaborate choker, the right approach ensures your pieces stay secure and stylish for years to come.


Leave a reply