


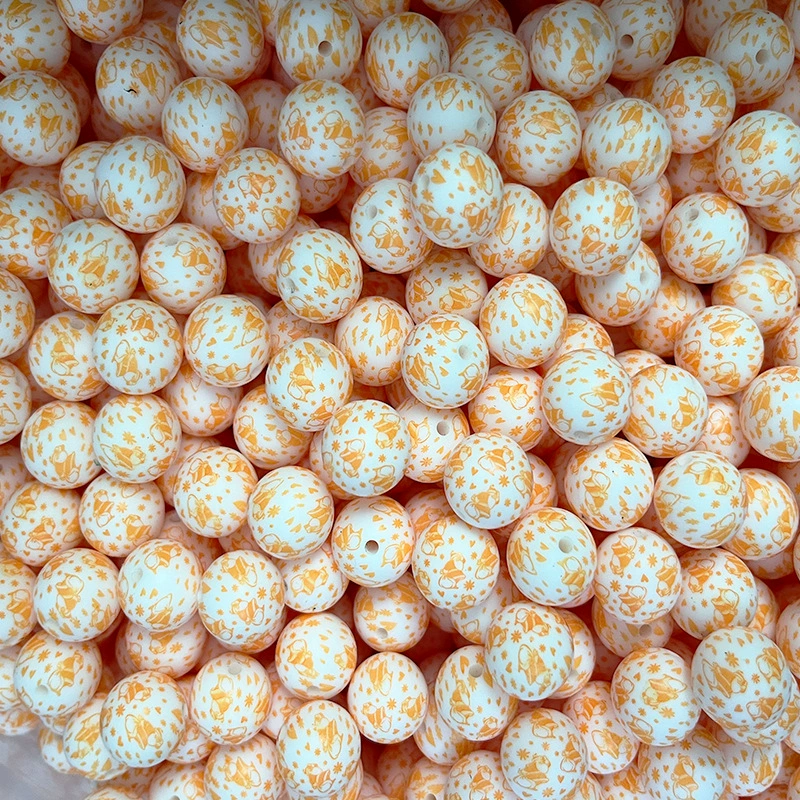
Graduated color-changing silicone beads production
Creating Gradient Color Effects with Silicone Beads: A Step-by-Step Guide
Silicone beads offer endless creative possibilities, especially when it comes to crafting eye-catching gradient designs. Whether you’re making jewelry, keychains, or decorative items, mastering gradient techniques can elevate your projects from simple to stunning. This guide breaks down the process into clear, actionable steps, covering everything from color selection to curing methods.
Understanding Gradient Basics
A gradient transitions smoothly between colors, creating depth and visual interest. For silicone beads, gradients can be achieved through layering, blending, or embedding techniques. The key is to control color intensity and placement to mimic natural transitions, like sunsets or ocean waves.
Choosing Your Color Palette
Start by selecting colors that blend harmoniously. Use a color wheel to identify complementary or analogous shades. For example, pairing blues with greens or pinks with purples creates a soft, cohesive look. If you’re aiming for a bold effect, contrasting colors like red and orange or purple and blue work well. Always test small batches to ensure the colors mix as expected when cured.
Preparing Your Workspace
Set up a clean, well-ventilated area with a non-stick surface, such as a silicone mat or wax paper. Organize your tools: mixing cups, stirring sticks, and a digital scale for precise measurements. Keep isopropyl alcohol nearby to clean beads and molds before use, ensuring better adhesion for colors or resins.
Techniques for Achieving Gradient Effects
Layering Colors in Molds
This method works best for pendants or flat-backed beads. Arrange pre-drilled or solid silicone beads in a mold, then pour a slow-curing resin mixed with your base color. After partial curing (about 1–2 hours), add a second color in a thin layer, letting it blend slightly with the first. Repeat for additional shades, allowing each layer to set before adding the next. Demold after 24 hours for a polished, multi-tonal effect.
Pro Tip: Use a toothpick to gently swirl colors at the edges for a more organic transition.
Hand-Painting Gradients
For detailed or irregularly shaped beads, hand-painting offers precision. Start with a light base coat and let it dry completely. Apply a second color in thin strokes, focusing on areas where the gradient should intensify. Blend with a dry brush or sponge while the paint is still tacky. For transparency, use alcohol inks, which dry quickly and allow layering without muddiness.
Key Consideration: Allow each layer to dry for at least 4 hours to prevent smudging. Seal with a UV-resistant topcoat to protect the design.
Dip-Dyeing for Ombre Effects
Dip-dyeing creates a seamless gradient from light to dark. Submerge beads partially into a container of diluted silicone ink or paint, then slowly lift them to let the color fade naturally. For a multi-shade effect, dip again into a darker mixture after the first layer dries. Rotate the beads slightly during each dip to avoid harsh lines.
Advanced Technique: Use a sponge to dab colors onto beads for a textured, watercolor-like finish.
Curing and Finalizing Your Design
Heat Curing for Permanent Bonds
If you’ve used resins or paints that require heat, cure beads in an oven at 60°C for 30 minutes or under a UV lamp for 10–15 minutes. For heat-pressed designs, place beads between Teflon sheets and apply an iron at 130°C for 20–40 seconds. This fuses colors to fabrics or leather, creating durable accessories like phone cases or patches.
Safety Note: Always wear gloves and work in a ventilated space to avoid inhaling fumes.
Testing Durability
Properly cured silicone beads resist fading and wear for 5–10 years outdoors. To check, gently scratch the surface after curing. If the color flakes, extend the curing time or adjust the pigment ratio. For high-traffic items, opt for UV-stable formulas to maintain vibrancy.
Exploring Creative Variations
Combining Textures and Colors
Add depth by pressing textured materials like lace or bubble wrap into wet resin before curing. For metallic accents, dry-brush acrylic paint onto raised surfaces, then seal with a clear coat. Glitter or iridescent powders mixed into resins create sparkling gradients perfect for festive designs.
Gradient Stringing Techniques
When stringing beads, alternate sizes or shapes to enhance the gradient effect. Use spacer beads to separate bold colors, or mix solid and translucent beads for a subtle transition. For bracelets, pair gradient beads with elastic cord for a comfortable, stretchy fit.
Laser Engraving for Custom Details
For corporate or branded projects, laser engrave logos or patterns onto colored silicone beads. This method doesn’t damage the surface and allows for intricate designs. Pair engraved beads with gradient elements for a professional, polished look.
Final Thoughts
Creating gradient effects with silicone beads is a blend of art and science. By experimenting with color layering, curing methods, and textures, you can craft unique pieces that stand out. Remember to prioritize safety by working in ventilated areas and following material guidelines. With practice, you’ll master gradients that turn simple beads into showstopping accessories.


Leave a reply