


Techniques for Hot Melt Connection of Silicone Beads
Essential Techniques for Thermally Bonding Silicone Beads
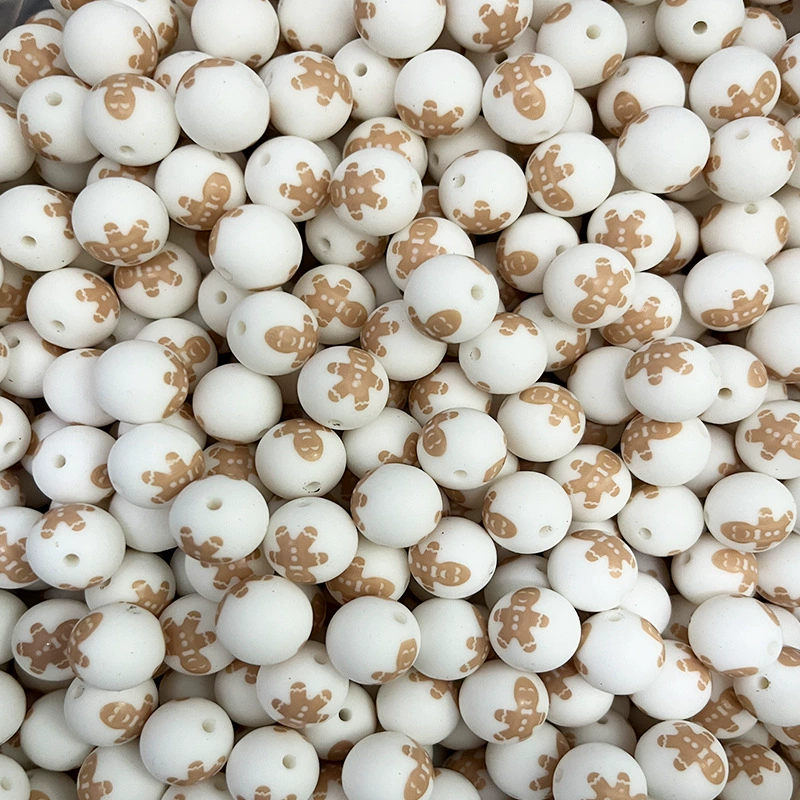
Silicone beads are widely used in crafting, jewelry making, and industrial applications due to their flexibility, durability, and resistance to extreme temperatures. Thermally bonding silicone beads—whether to each other or to other materials like metal, plastic, or fabric—requires precision and the right approach to ensure strong, lasting adhesion. Below are proven techniques to achieve optimal results.
Preparing Surfaces for Thermal Bonding
Cleaning and Degreasing
The first step in any bonding process is ensuring surfaces are free of contaminants. Silicone beads and the materials they’re attached to must be thoroughly cleaned to remove dust, oil, or residue. Use a mild detergent or isopropyl alcohol with a lint-free cloth to wipe down surfaces. For industrial applications, ultrasonic cleaning may be necessary to eliminate microscopic particles that could weaken the bond.
Surface Roughening for Enhanced Grip
Silicone’s non-porous nature makes it challenging for adhesives to penetrate. Lightly sanding or etching the bonding area with fine-grit sandpaper creates microscopic grooves, improving mechanical adhesion. This step is particularly critical when bonding silicone to smooth surfaces like glass or polished metals.
Using Primers for Difficult Materials
Some materials, such as certain plastics or untreated metals, may require a primer to enhance bonding. Primers chemically alter the surface, increasing its receptivity to adhesives or heat. Apply the primer according to the manufacturer’s instructions, allowing it to dry completely before proceeding with thermal bonding.
Selecting the Right Thermal Bonding Method
Hot Melt Adhesive Films
Hot melt adhesive films are a popular choice for silicone bonding due to their versatility and strength. These films are activated by heat, melting into a liquid state that fills gaps between surfaces. When cooled, they form a durable, flexible bond resistant to moisture and temperature fluctuations.
Application Process:
- Cut the adhesive film to match the bonding area.
- Place the film between the silicone bead and the substrate.
- Apply heat using a heat press, hot air gun, or industrial oven, following the adhesive’s recommended temperature range.
- Press the surfaces together firmly until the adhesive cools and solidifies.
Thermal Welding with Silicone Strips
For silicone-to-silicone bonding, thermal welding using silicone strips is highly effective. This method involves heating a silicone strip until it softens, then pressing it onto the beads to create a seamless connection.
Step-by-Step Guide:
- Heat the silicone strip using a heat gun or specialized welding tool until it becomes pliable.
- Position the strip over the beads, ensuring full contact.
- Apply even pressure to fuse the strip with the beads, holding in place until cooled.
- Trim any excess material for a clean finish.
Hot Air Bonding for Delicate Projects
Hot air bonding is ideal for small-scale or intricate projects where precision is key. A hot air gun directs controlled heat onto the bonding area, melting a thin layer of silicone to create adhesion.
Tips for Success:
- Maintain a consistent distance between the hot air gun and the silicone to avoid overheating.
- Move the gun in a circular motion to distribute heat evenly.
- Press the beads together immediately after heating to ensure proper fusion.
Optimizing Bonding Conditions
Controlling Temperature and Time
The success of thermal bonding hinges on precise temperature control. Excessive heat can degrade silicone, while insufficient heat may prevent proper adhesion. Use a thermometer or infrared temperature gun to monitor heat levels, adjusting as needed.
Key Considerations:
- Different silicone formulations have varying melting points; consult material specifications for guidance.
- Bonding time varies based on adhesive type and project size. Allow adequate time for the bond to set before handling.
Applying Even Pressure
Uniform pressure ensures the adhesive or melted silicone distributes evenly, eliminating air pockets that weaken the bond. Use clamps, weights, or a roller to apply consistent pressure during cooling. For curved or irregular surfaces, consider using silicone molds or vacuum forming techniques to maintain contact.
Testing Bond Strength
Before finalizing a project, test the bond’s strength by gently tugging on the beads or applying light stress to the joint. If the bond feels weak, reheat the area and reapply pressure. For critical applications, conduct destructive testing—such as pulling the bond apart—to verify it meets structural requirements.
Troubleshooting Common Issues
Beads Detaching After Bonding
If silicone beads detach shortly after bonding, the issue may stem from inadequate heat, insufficient pressure, or surface contamination. Repeat the bonding process, ensuring surfaces are clean and heat is applied evenly. For persistent problems, switch to a higher-temperature adhesive or consult a materials engineer.
Visible Adhesive or Residue
Excess adhesive can mar the appearance of a project. To minimize residue, apply adhesive sparingly and use a precision applicator. If residue appears, gently wipe it away with a solvent recommended for the adhesive type, testing on an inconspicuous area first.
Weak Bonds in High-Stress Areas
Areas subject to frequent movement or stress may require reinforcement. Apply additional adhesive around the bond line or use mechanical fasteners, such as stitches or rivets, in combination with thermal bonding. For industrial applications, consider using reinforced silicone sheets or fabrics to distribute stress more evenly.
By mastering these thermal bonding techniques, you can create strong, durable connections between silicone beads and a variety of materials. Whether crafting jewelry or assembling industrial components, attention to detail and adherence to best practices will ensure professional-quality results.


Leave a reply