


Basic Techniques for Silicone Bead and Bead Stringing
Essential Techniques for Stringing Silicone Beads: A Beginner’s Guide
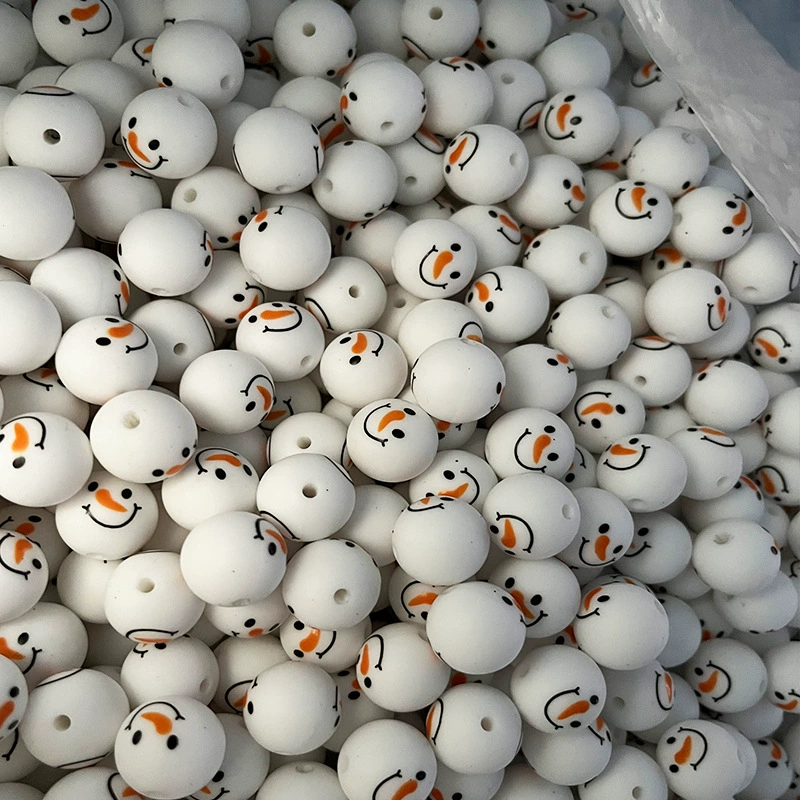
Silicone beads are versatile, durable, and come in endless colors and shapes, making them perfect for crafting jewelry, keychains, and decorative items. Whether you’re new to beading or looking to refine your skills, mastering a few foundational techniques will help you create professional-looking projects with ease. Below are step-by-step tips for stringing silicone beads like a pro.
Choosing the Right Stringing Material
The success of your beading project starts with selecting the appropriate cord or thread. Silicone beads are lightweight but can vary in size, so choose a material that matches the weight and style of your design.
For lightweight projects like bracelets or anklets, elastic cord is a popular choice. It stretches easily, allowing for a snug fit without clasps. For heavier designs or items that need more structure, such as necklaces or keychains, nylon thread or beading wire works better. These materials are strong and resistant to fraying, ensuring your project holds up over time.
Thread Thickness Matters
- Thin thread (0.2mm–0.4mm) is ideal for delicate designs with small beads.
- Medium thread (0.5mm–0.7mm) suits most standard-sized silicone beads.
- Thick thread (0.8mm+) is best for large or heavy beads.
Always test your thread by threading a few beads onto it before starting your project to ensure it fits smoothly through the holes.
Basic Stringing Methods
Once you’ve chosen your thread, it’s time to start stringing. Here are three fundamental methods to help you get started.
Single-Strand Stringing
This is the simplest method and works well for beginners. Cut a length of thread that’s slightly longer than your finished project will be (this gives you room to tie knots and add findings). Thread one end through a beading needle if the beads have small holes, or use your fingers for larger holes.
Start adding beads in your desired pattern, sliding them down to the end of the thread. Leave a small tail (about 2 inches) to tie a knot later. Continue until your design is complete, then tie a secure double knot at both ends. For extra security, add a drop of clear glue or melt the thread slightly (if nylon) before trimming the excess.
Double-Strand Stringing
Double-strand stringing adds durability and creates a fuller look. Cut two equal lengths of thread and tie them together at one end with a sturdy knot. Thread both strands through a beading needle or use them together to pick up beads.
As you add beads, they’ll sit on both strands, creating a layered effect. This method is great for necklaces or bracelets that need extra strength. When finished, tie both strands together at the other end and secure with glue or by melting the nylon thread.
Looping and Knotting Between Beads
For a more intricate design, try looping and knotting between beads. This technique works well with elastic cord or thin nylon thread. After threading a bead, create a small loop by bringing the thread back toward the bead and tying a simple knot. Pull the knot tight against the bead, then add the next bead and repeat the process.
This method creates evenly spaced beads and prevents them from sliding together. It’s perfect for making stretchy bracelets or decorative garlands where you want each bead to stand out.
Adding Findings and Clasps
Findings are the components that finish your beading project, such as clasps, jump rings, and crimp beads. Choosing the right findings ensures your project is both functional and attractive.
For elastic cord projects, you typically don’t need a clasp—simply tie the ends together in a secure knot and hide it inside a large bead or a bead cap. For nylon thread or beading wire, use a crimp bead to secure the thread to a clasp. Thread the crimp bead onto the thread, followed by the clasp, then loop the thread back through the crimp bead. Squeeze the crimp bead shut with pliers to hold everything in place.
Types of Clasps
- Lobster claw clasps are easy to open and close, making them ideal for bracelets and necklaces.
- Toggle clasps consist of a bar and a loop, providing a stylish and secure closure.
- Magnetic clasps are convenient for people with dexterity issues but should be used with caution around pets or small children.
Troubleshooting Common Issues
Even experienced crafters encounter problems sometimes. Here’s how to fix a few common beading mishaps.
Thread Fraying
If your thread starts to fray while you’re working, stop and trim the frayed end with sharp scissors. You can also dip the end in a small amount of clear nail polish or beeswax to stiffen it and make threading easier.
Beads Not Fitting
If a bead won’t slide onto your thread, check the hole size. Some beads may have smaller holes than others. Switch to a thinner thread or use a beading needle to guide the thread through.
Uneven Spacing
To keep beads evenly spaced, use a ruler or a bead board to measure the distance between each bead as you work. Alternatively, place a small piece of tape on your thread at regular intervals to mark where each bead should go.
Final Tips for Successful Beading
- Work in a well-lit area to avoid missing small details.
- Organize your beads by color or shape before starting to save time.
- Take breaks if your hands get tired—beading requires precision, and fatigue can lead to mistakes.
- Experiment with different bead combinations and patterns to discover your unique style.
With these foundational techniques, you’ll be well-equipped to tackle any silicone bead project that comes your way. Remember, practice makes perfect, so don’t be afraid to start small and build your skills over time. Happy beading!


Leave a reply