


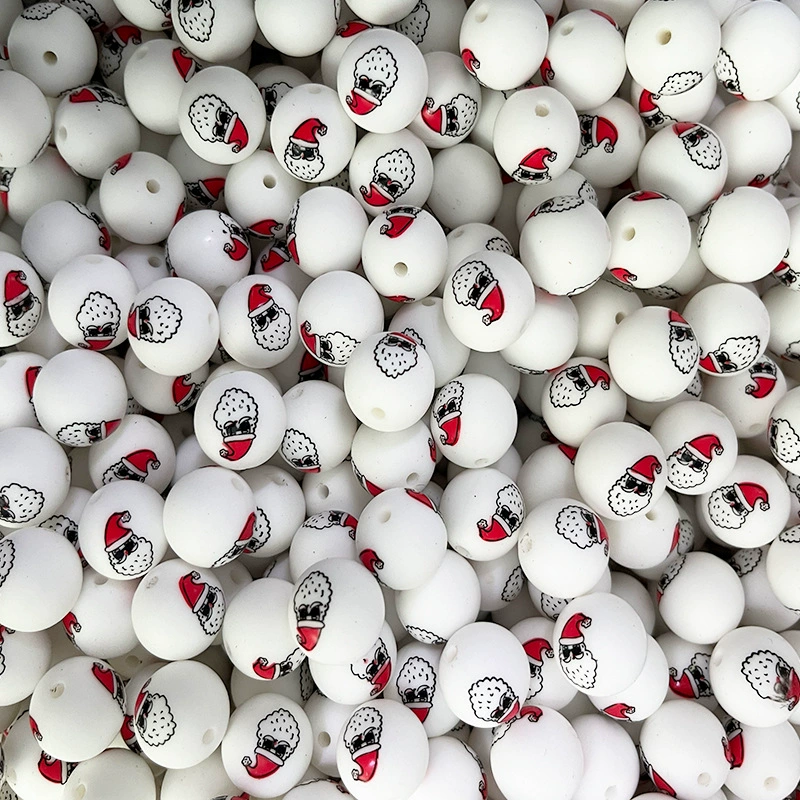
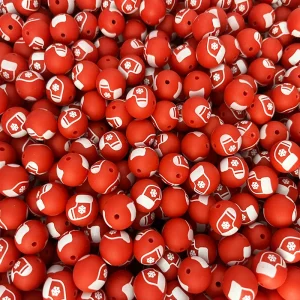
Complex shape production of silica gel beads
Advanced Techniques for Crafting Intricate Silicone Bead Designs
Silicone beads offer endless possibilities for creativity, especially when exploring complex shapes and textures. Whether you’re aiming for detailed floral patterns, geometric precision, or whimsical characters, mastering advanced techniques can elevate your designs. Here’s how to approach intricate silicone bead projects with confidence.
Creating Layered 3D Designs
Combining Multiple Molds for Depth
To achieve a three-dimensional effect, use molds with varying depths or combine separate molds for different components. For example, craft a flower bead by making individual petals in shallow molds and a central disc in a deeper mold. Once cured, assemble the pieces by attaching them with a small dab of uncured silicone or adhesive designed for silicone materials.
Using Two-Part Molds for Hollow Structures
Hollow beads reduce material use and create lightweight accessories. To make them, use a two-part mold with a cavity for the outer shape and a smaller core mold. Pour silicone into the outer mold, let it set slightly, then insert the core mold and fill the remaining space. After curing, separate the molds to reveal a hollow bead with clean edges.
Adding Fine Details with Impression Tools
Carving Custom Patterns
For unique textures, carve shallow designs into the mold’s surface before pouring silicone. Use tools like dental picks, clay sculpting tools, or even the tip of a mechanical pencil to create lines, dots, or intricate motifs. Test the depth on scrap silicone first to ensure the details transfer clearly without distorting.
Using Silk Screens for Repeated Patterns
Silk screening allows you to replicate delicate patterns like lace or filigree across multiple beads. Cut a stencil from a fine mesh material or purchase pre-made stencils. Secure the stencil over the mold and spread a thin layer of silicone over it using a spatula. Remove the stencil carefully, then pour the main silicone mixture into the mold. The stenciled layer will create a raised pattern on the bead’s surface.
Incorporating Mixed Media Elements
Embedding Metal or Wood Accents
For a striking contrast, add small metal charms, wooden beads, or wire loops into your silicone designs. Place the accent piece into the mold before pouring silicone, ensuring it’s fully surrounded by the material to prevent air pockets. Use pliers to bend wire into shapes like swirls or stars, then position them as desired. This technique works best with lightweight, non-corrosive materials.
Creating Translucent Windows with Resin
Combine opaque and translucent silicone by pouring a base layer of colored silicone, letting it cure partially, then adding a clear resin layer on top. Insert tiny objects like glitter, sequins, or dried herbs into the clear layer before it fully hardens. The result is a bead with a “window” that reveals hidden details when held to the light.
Troubleshooting Common Challenges
Air Bubbles in Fine Details: To avoid bubbles in carved or stenciled patterns, pour silicone slowly and tap the mold gently on the table after filling. Use a heat gun on low setting to burst surface bubbles without melting the silicone.
Mold Release Issues: If beads stick to the mold, lightly dust the cavity with cornstarch or a non-toxic talc powder before pouring. For reusable molds, avoid using oil-based releases, as they can leave residue.
Curing Inconsistencies: Thick or detailed beads may cure unevenly. Rotate the mold halfway through curing or place it in a warm, dry area to speed up the process. Avoid direct sunlight, which can cause discoloration.
By experimenting with these methods, you can push the boundaries of silicone bead design. Start with simple shapes and gradually incorporate more complex elements as you gain confidence. Remember to document your process—mistakes often lead to unexpected innovations!


Leave a reply