


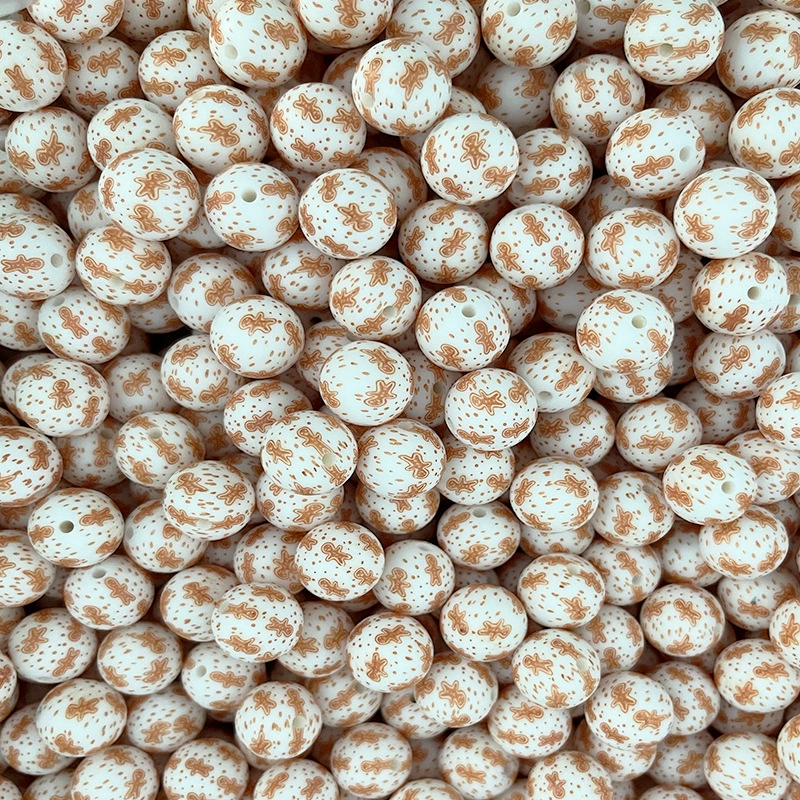
Food-grade silicone DIY decorative letter engraving techniques
Essential Techniques for Crafting Letter Imprints in Food-Grade Silicone DIY Decorations
Creating crisp, legible letter imprints in food-grade silicone requires precision and attention to detail. Whether designing custom cake toppers, coasters, or labels, mastering these techniques ensures your decorations are both visually appealing and safe for food contact. Below are key strategies to achieve professional results in your DIY projects.
Designing Clear and Readable Letter Imprints
Choosing the Right Font Style and Size
Select fonts with simple, bold lines to ensure letters remain legible after curing. Avoid overly ornate or thin fonts, as they may blur or break during demolding. For smaller decorations, opt for sans-serif fonts like Arial or Helvetica, which are easier to carve into molds. Scale the text to fit the decoration’s size—letters should be large enough to maintain clarity without overcrowding the design.
Balancing Negative Space for Contrast
Effective letter imprints rely on contrast between the raised or recessed areas and the background. For raised letters, ensure the surrounding surface is smooth and flat to highlight the text. For recessed imprints, deepen the grooves slightly to create definition without compromising the silicone’s structural integrity. Test your design on paper or with a prototype to adjust spacing and depth before finalizing the mold.
Incorporating Alignment Guides for Uniformity
When designing multi-word or centered text, use alignment guides to maintain consistency. Draw horizontal and vertical centerlines on your mold template to position letters evenly. For curved surfaces, like round coasters, adapt the text to follow the contour while keeping spacing proportional. This prevents uneven or lopsided imprints that detract from the decoration’s professional appearance.
Preparing Molds for Precise Letter Imprinting
Creating Detailed Mold Cavities
Use a high-quality mold-making material that captures fine details, such as silicone rubber or food-safe resin. Press letter stamps or carved prototypes firmly into the mold material to ensure sharp edges and clean lines. For hand-carved molds, use a sharp, precision tool to etch letters deeply enough to hold silicone without distorting. Smooth any rough edges with a fine-grit sandpaper or polishing tool.
Using Positive and Negative Mold Techniques
Positive molds (where letters are raised) work well for decorations requiring a 3D effect, while negative molds (with recessed letters) are ideal for flat imprints. To create a positive mold, press letter stamps into a soft silicone base. For negative molds, carve letters into a solid block or use a pre-made stamp to indent the mold material. Test both methods to see which yields clearer results for your specific design.
Preventing Air Bubbles in Letter Grooves
Air bubbles trapped in narrow letter grooves can distort imprints. To minimize this, pour silicone slowly and in thin layers, starting from the lowest point of the mold. Use a toothpick or small brush to guide silicone into tight corners and crevices. Gently tap the mold on a flat surface after pouring to dislodge trapped air. For stubborn bubbles, use a vacuum chamber or pressurized degassing system if available.
Pouring and Curing Silicone for Flawless Letter Imprints
Mixing Silicone Thoroughly for Consistent Texture
Inconsistent mixing can lead to soft spots or uneven curing, which affects letter clarity. Follow the manufacturer’s instructions for ratios and mixing time, scraping the sides and bottom of the container to incorporate all components. Use a stir stick with a flat end to reach corners and ensure a homogeneous mixture. Overmixing can introduce air bubbles, so stop as soon as the color is uniform.
Controlling Pouring Technique to Fill Letter Details
Pour silicone in a steady, thin stream to avoid creating turbulence that might blur letters. Tilt the mold slightly to let silicone flow naturally into grooves, using a brush or spatula to guide it if needed. For deep imprints, pour in stages, allowing each layer to partially cure before adding the next. This prevents air from getting trapped in the deepest parts of the letters.
Optimizing Curing Conditions for Durability
Cure silicone in a clean, dust-free environment at the recommended temperature (usually room temperature or slightly warmer). Avoid moving the mold during curing, as this can shift the silicone and distort letters. For thicker decorations, extend the curing time by 25–50% to ensure the center hardens completely. Test the silicone’s flexibility by gently pressing it—it should feel firm but not brittle.
Demolding and Finishing Letter-Imprinted Decorations
Removing Silicone Gently to Preserve Letter Integrity
Flex the mold slowly and evenly to release the silicone, starting from the edges and working toward the center. Avoid pulling or twisting the decoration, as this can stretch or tear letters. If the silicone sticks, place the mold in the refrigerator for 10–15 minutes to contract the material slightly, making it easier to remove. Use a plastic tool or your fingertips to loosen stubborn areas without scratching the surface.
Trimming Excess Material for a Clean Finish
Use food-safe scissors or a precision craft knife to trim overflow or rough edges around the letters. Cut at a slight angle to create a smooth, tapered edge that blends with the design. For raised letters, ensure the background is level to avoid uneven shadows. For recessed imprints, clean out any residual silicone from the grooves with a toothpick or small brush.
Enhancing Letters with Color or Texture (Optional)
Add visual interest by painting letters with food-grade dyes or edible luster dust. Use a fine brush to apply color carefully, staying within the grooves for recessed imprints or highlighting raised edges. For texture, press a food-safe textured mat into the silicone before curing or dust the surface with cornstarch to create a matte finish. Always verify that added materials are safe for food contact before use.
By focusing on design precision, mold preparation, and careful handling, you can create stunning letter-imprinted decorations with food-grade silicone. Experiment with different fonts, depths, and finishes to develop a unique style that suits your projects. Start with simple designs and gradually tackle more complex text as you gain confidence in the process.


Leave a reply