


Food-grade silicone DIY decorative splicing and assembly method
Combining Food-Grade Silicone for DIY Decorative Assemblies: Techniques and Tips
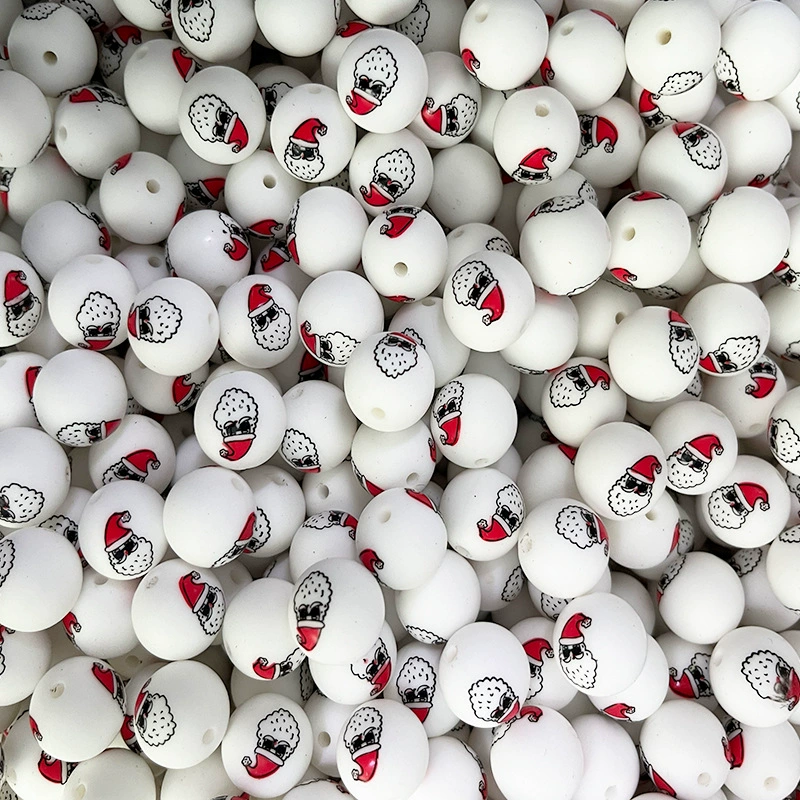
Creating multi-part decorations with food-grade silicone allows for intricate designs, layered textures, and functional versatility. Unlike single-piece molds,拼接 (assembly) techniques enable artists to mix colors, embed objects, or build 3D structures while maintaining food safety. Below, explore methods for seamlessly joining silicone components, ensuring durability, and enhancing visual appeal.
Preparing Silicone Components for Assembly
Before combining pieces, ensure each component is fully cured and free of residue. Use a sharp craft knife or silicone scissors to trim excess material from mold edges, creating clean, flat surfaces for bonding. Lightly sand rough areas with fine-grit sandpaper if needed, but avoid over-abrasion, which can weaken thin sections.
For components requiring precise alignment, such as interlocking puzzle pieces or modular tiles, mark reference points with a food-safe marker or engraving tool. These guides help maintain symmetry during assembly and reduce the risk of misalignment. If working with transparent silicone, use a contrasting color for marks to ensure visibility.
Selecting Adhesion Methods for Food-Grade Silicone
Cold Assembly with Uncured Silicone
One of the simplest ways to join silicone parts is by applying a thin layer of fresh, uncured silicone as “glue.” Mix a small batch of the same silicone type used for the components (e.g., platinum-cure or tin-cure) and spread it evenly on the bonding surfaces using a silicone brush or spatula. Press the pieces together firmly and wipe away excess adhesive before it cures.
This method works best for flat or slightly curved surfaces. For stronger bonds, clamp the assembled pieces lightly with silicone-safe clips or weights while the adhesive cures. Avoid over-tightening, as this can distort soft silicone or create pressure points.
Using Food-Safe Silicone Adhesives
Specialized food-grade silicone adhesives offer a faster, more controlled bonding process. These adhesives are formulated to cure without shrinking and resist moisture, making them ideal for decorations exposed to humidity or frequent handling. Apply the adhesive in a zigzag pattern along the bonding edge, then press the components together and hold for 30–60 seconds to set.
For vertical assemblies, such as hanging ornaments or wall-mounted decorations, use a temporary support structure (e.g., a foam board or cardboard) to hold the pieces in place until the adhesive cures fully. Check the manufacturer’s instructions for optimal curing times, as some adhesives may require 24 hours to reach maximum strength.
Mechanical Bonding Techniques
Interlocking Designs
Incorporate grooves, tabs, or pegs into your silicone components during the molding process to create self-locking assemblies. For example, design a flower decoration with petal pieces that slot into a central core, or build a geometric sculpture using interlocking cubes. These features eliminate the need for adhesives and provide a sturdy, reusable connection.
To ensure smooth interlocking, test the fit of prototype pieces before producing the final components. Adjust the dimensions slightly if parts are too loose or tight—silicone’s flexibility allows for minor tolerances, but extreme mismatches can compromise stability.
Embedding Magnets or Fasteners
For detachable or adjustable decorations, embed small, food-safe magnets or plastic fasteners into the silicone. Place the magnets or fasteners into the mold before pouring the silicone, ensuring they are centered and level. Once cured, the embedded elements will securely hold matching pieces together without visible hardware.
This approach is ideal for creating modular decorations, such as interchangeable cupcake toppers or magnetic photo frames. Use neodymium magnets for strong hold or ceramic magnets for lighter applications. If using fasteners, opt for plastic screws and nuts designed for soft materials to avoid cracking the silicone.
Layering Silicone for Depth and Dimension
Building Up Textures
Combine silicone pieces of varying thicknesses to add tactile interest to your decorations. For instance, create a textured landscape by layering a smooth base with raised hills, trees, or clouds made from thicker silicone. Use a heat gun (on low setting) to gently soften the edges of the top layer, then press it into the base for a seamless transition.
Alternatively, apply thin silicone “veils” over existing components to mimic effects like frost, water, or translucent overlays. Mix a small amount of transparent silicone with a drop of food coloring for subtle tinting, then drizzle or brush it onto the surface before it cures.
Incorporating Negative Space
Negative space—areas left intentionally empty—can enhance the visual impact of assembled silicone decorations. Cut out shapes from one component and align them with solid sections of another to create cut-out patterns. For example, design a star-shaped decoration with hollow centers that reveal a contrasting color beneath.
To achieve clean cut-outs, use cookie cutters or custom-made templates during the curing process. For advanced designs, experiment with laser-cutting silicone sheets (if equipment is available) or hand-carve intricate patterns with a precision knife after curing.
Combining Colors and Transparency in Assembled Decorations
Gradient and Ombre Effects
Assemble silicone pieces of different colors to create smooth color transitions. Pour multiple shades of silicone into separate molds, then slice each cured piece into thin strips or layers. Arrange the strips side by side or stack them in alternating colors, using adhesive or interlocking designs to hold them together.
For a more organic look, blend colors directly during the mixing phase by swirling two or more tinted silicone batches together before pouring. This technique works well for creating marbleized or watercolor-inspired decorations.
Using Transparent Silicone as a Binding Layer
Transparent food-grade silicone can act as a “glue” and a design element when assembling colored pieces. For example, build a mosaic-style decoration by arranging solid-colored silicone tiles on a flat surface, then pouring a thin layer of transparent silicone over them. Once cured, the transparent layer will encapsulate the tiles, creating a glossy, unified finish.
This method also protects colored silicone from fading or staining, as the transparent layer acts as a barrier. For added dimension, embed small objects like glitter, dried flowers, or edible decorations (if the final product is food-contact safe) between the colored tiles and the transparent overlay.
Adding Functional Elements to Assembled Decorations
Creating Hinges or Movable Parts
Design assembled decorations with hinges or pivots to allow movement. For a simple hinge, attach two silicone pieces with a thin strip of flexible silicone acting as the joint. Alternatively, use a small plastic rod or straw as a hinge pin, embedding it into both components during the curing process.
Movable parts, such as spinning wheels or swinging pendulums, can be created by attaching lightweight objects (e.g., silicone-coated beads or plastic shapes) to the assembly with food-safe string or thin silicone cords. Ensure all moving elements are securely anchored to prevent detachment during use.
Incorporating Lighting Features
Assembled silicone decorations can house small LED lights or fiber optics for a glowing effect. Cut out cavities in one or more components to fit battery-operated LED tea lights or fairy lights, then secure the lights in place with adhesive or a custom-fitted silicone holder. For a safer, wire-free option, use LED stickers or encapsulated LED modules designed for crafts.
If the decoration will be near food, ensure the lights are fully enclosed and waterproof to prevent contamination. Test the lighting setup before final assembly to confirm that the heat generated by the lights does not affect the silicone’s integrity.
By mastering these assembly techniques, DIY enthusiasts can craft food-safe silicone decorations that are as functional as they are visually striking. Whether building complex sculptures, modular wall art, or interactive toys, the key to success lies in careful planning, precise execution, and creative experimentation with colors, textures, and structures. With practice, even beginners can achieve professional-quality results that stand out in any setting.


Leave a reply