


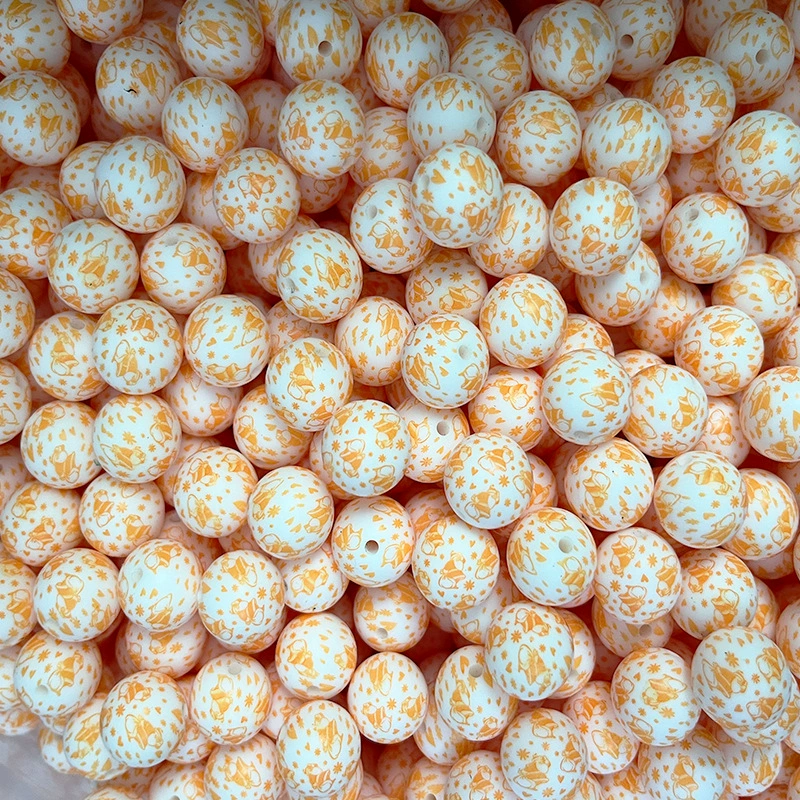
Food-grade silicone jewelry with luminous effect setting
Creating Luminous Effects in Food-Grade Silicone Jewelry: Embedding Techniques for Nighttime Brilliance
Food-grade silicone jewelry gains a magical edge when infused with luminous elements, offering a subtle glow that enhances designs in low-light settings. Achieving this effect requires careful selection of materials, precise embedding methods, and an understanding of how light interacts with silicone. Below are detailed techniques to help you craft eye-catching, glowing accessories without compromising safety or durability.
Choosing Safe and Effective Luminous Materials
The foundation of a successful nighttime effect lies in selecting non-toxic, light-storing pigments compatible with food-grade silicone. Opt for strontium aluminate-based glow powders, which are known for their long-lasting afterglow and resistance to fading. These pigments come in various colors, with green and aqua typically offering the brightest glow. Avoid zinc sulfide-based options, as they tend to dim quickly and may contain impurities unsuitable for skin contact.
For a more vibrant result, consider using luminous films or tapes designed for crafting. These materials can be cut into shapes and embedded directly into silicone, providing a concentrated glow without the need for mixing powders. Ensure any film or tape is labeled as food-safe and flexible enough to bend with the jewelry without cracking. Always test a small sample of your chosen material with silicone to confirm adhesion and glow duration before scaling up production.
Incorporating Luminous Elements During the Mixing Process
One of the simplest ways to add glow is by blending luminous powder into the silicone before curing. Start by measuring a small amount of powder—typically 5-10% of the total silicone weight—to avoid altering the material’s flexibility. Use a clean, dry container to mix the powder thoroughly with the silicone base, ensuring no clumps remain. For consistent distribution, pass the mixture through a fine sieve or knead it by hand for several minutes.
To create gradient or patterned glows, layer different concentrations of powder within the silicone. For example, mix a higher ratio of powder into the outer layer of a pendant, then use a lower ratio for the inner sections. This technique produces a dynamic effect where the glow appears brighter at the edges. After mixing, pour the silicone into molds or shape it by hand, then cure it according to the manufacturer’s instructions. Expose the finished piece to natural or artificial light for at least 30 minutes to charge the glow effect fully.
Embedding Pre-Made Luminous Shapes for Precision
For more intricate designs, embedding pre-cut luminous shapes offers greater control over the glow’s placement and intensity. Begin by designing your pattern on paper, then transfer it onto luminous film or tape using a pencil or light-sensitive marker. Cut out the shapes with a sharp craft knife or scissors, ensuring smooth edges to prevent air bubbles during embedding.
Place the cutouts onto a flat surface lined with parchment paper, then pour a thin layer of uncured silicone over them. Use a spatula or brush to spread the silicone evenly, covering the shapes completely while avoiding excess thickness. Gently press another layer of parchment paper on top to smooth the surface, then cure the silicone as directed. Once hardened, peel away the paper to reveal a seamless integration of glowing elements. This method works well for creating stars, geometric patterns, or custom logos within jewelry pieces.
Enhancing Glow Duration Through Layering and Charging
The longevity of a luminous effect depends on how well the silicone captures and retains light. To maximize glow time, incorporate multiple layers of luminous material into your design. For instance, embed a base layer of glow powder into the silicone, then add a second layer of cutout shapes on top. This double-layer approach traps more light, resulting in a brighter, longer-lasting glow.
Proper charging is equally important. After curing, place the jewelry under a bright LED or fluorescent light for at least one hour. Natural sunlight works too, but avoid overheating the silicone, as excessive heat can weaken its structure. For quick charging, use a UV flashlight to focus light directly onto the glowing elements. Store finished pieces in a dark place when not in use to preserve their ability to absorb light efficiently.
Testing and Adjusting for Optimal Results
Before finalizing a design, conduct tests to evaluate the glow’s intensity and uniformity. Create a few sample pieces with varying concentrations of powder or different embedding techniques, then charge and observe them in a dark room. Note which methods produce the most even glow and which areas appear dimmer. Use this feedback to refine your process, adjusting powder ratios or shape placements as needed.
If certain sections of the jewelry fail to glow, check for air bubbles or uneven silicone thickness during embedding. These issues can block light from reaching the luminous material. To fix them, reheat the silicone slightly—using a heat gun on a low setting—to soften it, then press down gently to eliminate gaps. Re-cure the piece and retest until the glow is consistent across all surfaces.
By mastering these techniques, you can create food-grade silicone jewelry that shines brightly in the dark, offering a unique blend of safety and style. Experiment with different materials and layering strategies to develop signature designs that captivate wearers long after the lights go out.


Leave a reply