


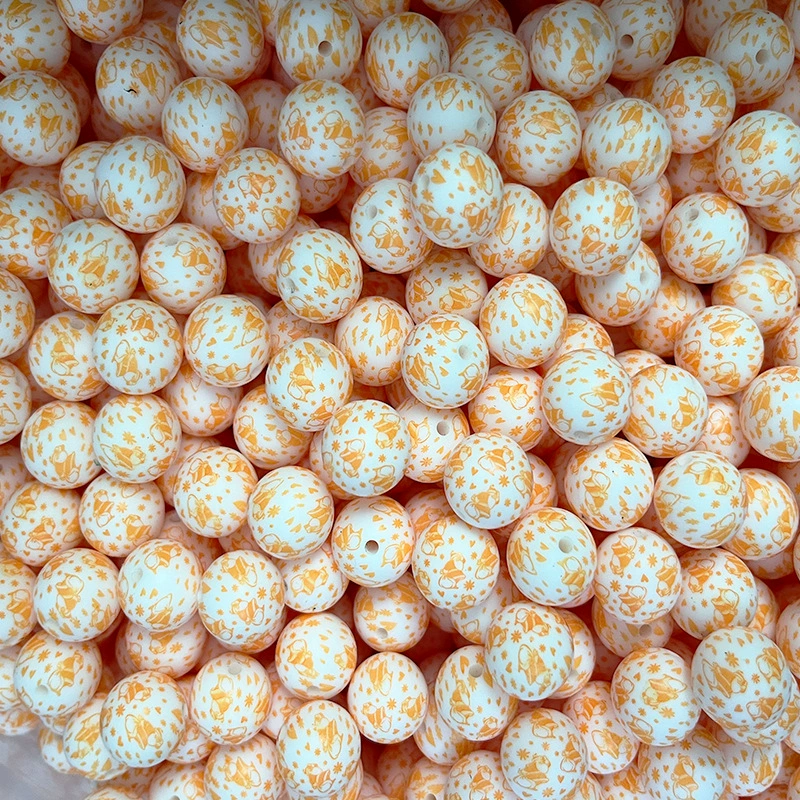
Food-grade silicone jewelry with multi-layer inlaying technology
Mastering Multi-Layer Inlay Techniques for Food-Grade Silicone Jewelry
Food-grade silicone’s versatility allows for intricate jewelry designs, including multi-layer inlay work that combines texture, color, and depth. Unlike rigid materials, silicone’s flexibility demands specialized approaches to ensure inlays remain secure and visually striking. Below are advanced methods for embedding elements into silicone jewelry across multiple layers, focusing on durability, precision, and aesthetic harmony.
Creating Depth with Recessed Layering
Recessed layering involves carving or molding grooves into the base silicone layer to hold inlaid components. Start by designing a mold with varying depths—shallow channels for flat inlays like metallic foils or fabric, and deeper pockets for three-dimensional elements such as gem-like silicone shapes or resin pieces. Use a sharp, food-safe silicone sculpting tool to refine the grooves, ensuring smooth edges to prevent snagging on skin or clothing.
When embedding flat inlays, press the material firmly into the recessed area, using a roller or silicone-tipped tool to eliminate air bubbles. For deeper pockets, apply a thin layer of uncured silicone adhesive to the base before inserting the inlay, then cure the piece under pressure to bond the layers seamlessly. To enhance contrast, choose inlays with colors or textures that differ sharply from the base silicone—matte black inlays on translucent white bases, for example, or metallic gold on deep blue.
Layering can also involve stacking inlays vertically. After securing the first layer, mold a second silicone piece with a complementary shape (e.g., a flower petal over a circular center) and attach it using adhesive or by curing the two layers together. This technique creates a dimensional effect, making the jewelry appear more dynamic from different angles. Ensure each layer aligns precisely by using alignment pins or temporary adhesive during assembly.
Incorporating Textured Inserts for Tactile Appeal
Textured inserts add both visual interest and sensory engagement to silicone jewelry. Begin by selecting or creating textured materials compatible with food-grade silicone, such as lace, embossed silicone sheets, or natural elements like dried leaves (ensuring they are non-toxic and thoroughly cleaned). Press the chosen texture into uncured silicone to create an imprint, then cure the piece to lock in the design. Alternatively, carve textures directly into the silicone using a needle tool or dental pick, focusing on patterns that complement the inlay theme—geometric lines for modern styles or organic swirls for bohemian pieces.
To embed textured inserts, cut the material to fit the desired area (e.g., a strip of lace for a bracelet cuff or a leaf shape for a pendant). Apply a thin layer of silicone adhesive to the back of the insert, then press it onto the base layer. For added security, mold a second silicone layer over the edges of the insert, blending it into the base to create a flush finish. If the insert is delicate, reinforce it with a layer of clear silicone before embedding to prevent tearing during wear.
Combining textured inserts with recessed layering can yield striking results. For instance, embed a piece of embossed silicone into a deeper recess, then surround it with a raised, textured border molded from contrasting silicone. This interplay of raised and sunken elements mimics the look of traditional metalwork while maintaining silicone’s lightweight comfort. Test the design by flexing the jewelry gently to ensure the insert stays in place and the textures don’t crack or peel.
Using Liquid Silicone or Resin for Transparent Overlays
Transparent overlays offer a way to protect inlays while adding a glossy, polished finish. Liquid food-grade silicone or epoxy resin (rated safe for skin contact) can be poured over embedded elements to seal them in place. Start by preparing the base layer with inlays already secured, ensuring no loose edges or gaps where liquid could seep underneath. Place the piece on a flat, level surface to prevent drips, and use masking tape to create a barrier around the edges if a clean, straight overlay is desired.
For liquid silicone overlays, mix the two-part compound according to the manufacturer’s instructions, then pour it slowly over the inlays, starting from the center and letting it spread outward. Use a toothpick or silicone brush to guide the liquid into tight corners or around intricate details. Cure the overlay in a dust-free environment, following the recommended time and temperature settings. Once cured, trim any excess with a sharp craft knife, then sand the edges lightly for a smooth finish.
Resin overlays follow a similar process but require more precise measurement to avoid bubbles. Stir the resin slowly to minimize air introduction, and use a heat gun or torch (held several inches away) to burst surface bubbles immediately after pouring. For a domed effect, pour slightly more resin than needed and let it settle into a natural curve as it cures. Resin overlays work particularly well with glitter, dried flowers, or metallic flakes embedded beneath the surface, creating a “captured” look that enhances the jewelry’s allure.
Combining Multiple Techniques for Complex Designs
Advanced multi-layer inlay jewelry often blends recessed layering, textured inserts, and transparent overlays. For example, design a pendant with a recessed base layer holding a metallic foil inlay, surrounded by a textured silicone border. Over this, pour a thin layer of liquid silicone to seal the foil, then add a second, smaller recessed area on top filled with colored resin drops. Finally, cap the entire piece with a clear resin overlay to unify the layers and protect the design.
When combining techniques, prioritize curing times and material compatibility. Some adhesives or resins may not bond well with certain silicone types, so test small samples first. Allow each layer to cure fully before adding the next to prevent shifting or warping. Use alignment tools like punched-out paper templates or laser-cut guides to ensure elements align correctly across layers, especially for symmetrical designs like earrings or matching sets.
Attention to detail is critical in multi-layer inlay work. Check for trapped air, uneven edges, or discoloration during each step, adjusting your process as needed. For instance, if resin bubbles persist, switch to a vacuum chamber or pressure pot to remove them before curing. If silicone layers don’t adhere properly, roughen the surfaces with sandpaper or a wire brush to improve grip, then clean away debris before reapplying adhesive.
By mastering recessed layering, textured inserts, and transparent overlays—both individually and in combination—designers can elevate food-grade silicone jewelry into wearable art. These techniques leverage silicone’s unique properties while addressing the challenges of multi-material assembly, resulting in pieces that are as durable as they are visually captivating.


Leave a reply