


Food-grade silicone pen with multi-color splicing process
Mastering Multi-Color Assembly Techniques for Food-Grade Silicone Fountain Pen Components
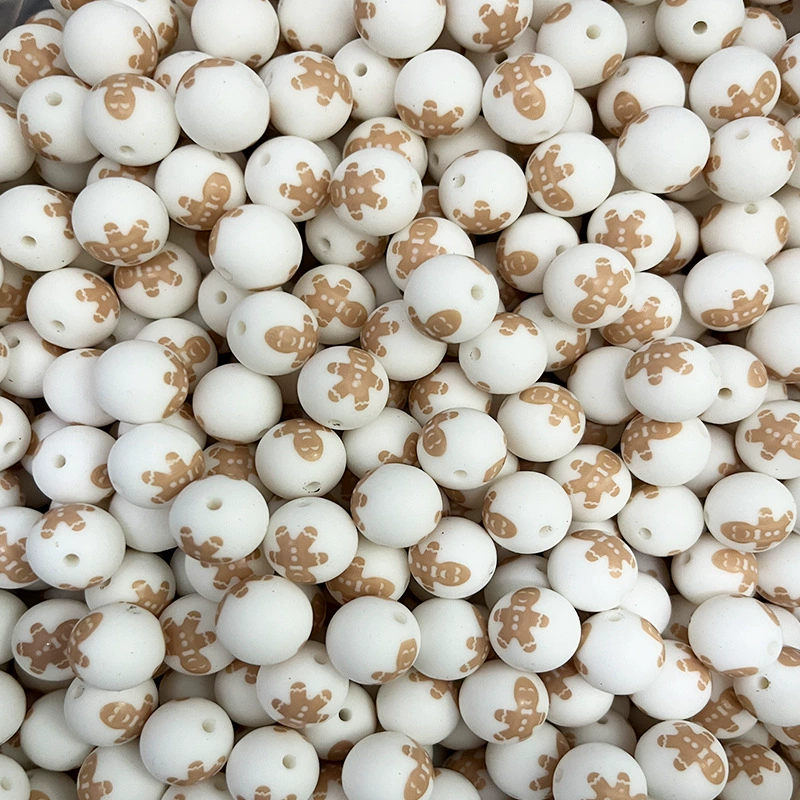
Food-grade silicone’s adaptability makes it an ideal material for crafting vibrant, multi-hued fountain pen accessories. Unlike rigid plastics or metals, silicone allows for seamless color transitions and durable bonds, enabling designers to create visually striking yet functional pen sleeves, grips, or caps. Achieving professional multi-color assembly requires precision in material selection, molding processes, and bonding methods. Below are key considerations for executing flawless multi-color silicone designs on fountain pen components.
Selecting Compatible Food-Grade Silicone Colors and Hardness Levels
The foundation of a successful multi-color assembly lies in choosing silicone grades that bond reliably without compromising safety. Opt for platinum-cured food-grade silicone, which is free from peroxides and other byproducts that could contaminate the material. This type of silicone also offers superior tensile strength and elasticity, ensuring joined sections withstand daily use without separating.
When mixing colors, prioritize pigments specifically formulated for silicone applications. These pigments should be non-toxic, heat-stable, and resistant to fading from UV exposure or chemical contact. For example, a pen sleeve combining pastel pink and mint green requires pigments that maintain their hue even after repeated flexing or exposure to ink solvents.
Consider the hardness (Shore A) of each color segment. While most food-grade silicone ranges from 20 to 80 Shore A, using colors with similar hardness levels simplifies the bonding process. Mismatched hardness can lead to uneven shrinkage during curing, causing gaps or warping at the joints. For instance, pairing a 40 Shore A base with a 60 Shore A accent piece may require adjustments to molding temperatures or post-curing times.
Precision Molding: Creating Clean Color Transitions in Silicone Components
Multi-color silicone assembly often begins with overmolding or insert molding, where one color is molded first and another is added later. For a fountain pen grip featuring alternating stripes of blue and white, start by molding the base color (e.g., blue) in a cavity with channels for the second color. Use a two-stage injection system to fill these channels with white silicone, ensuring precise alignment and minimal overflow.
Liquid silicone rubber (LSR) injection molding is ideal for intricate designs, as it allows for high-pressure filling of detailed molds. For components like pen caps with embedded logos or patterns, employ a multi-cavity mold where each cavity corresponds to a different color. Synchronize the injection timing to prevent color bleeding—a common issue when molten silicone from adjacent cavities mixes prematurely.
To achieve smooth gradients or ombre effects, experiment with layered pouring techniques. Pour the first color into the mold, let it partially cure to a tacky consistency, then add the second color on top. This creates a natural blend at the interface. For example, a pen sleeve transitioning from yellow to orange can use this method to mimic a sunset effect without sharp color demarcations.
Bonding Multi-Color Silicone Segments for Structural Integrity
Even with precise molding, some designs require bonding separate silicone pieces. Use a food-grade silicone adhesive that matches the base material’s properties. Avoid generic glues, which may contain solvents that degrade the silicone or leach harmful chemicals. Test the adhesive’s bond strength by flexing the joined sections—a secure bond should withstand bending without cracking or peeling.
For large or complex assemblies, consider mechanical interlocking in addition to adhesive bonding. Design components with grooves, ridges, or puzzle-like connections that fit snugly together. For instance, a two-part pen sleeve could feature interlocking tabs along its edges, reinforced with a thin layer of adhesive for added stability. This dual approach ensures the sleeve remains intact even if the adhesive weakens over time.
Surface preparation is critical for effective bonding. Clean both segments with isopropyl alcohol to remove oils, dust, or mold release agents. Lightly abrade the bonding area with fine-grit sandpaper (400–600 grit) to create a rough texture that enhances adhesion. Apply the adhesive evenly, pressing the segments together firmly for 30–60 seconds to allow initial tack formation.
Curing and Post-Processing: Ensuring Durability and Color Fastness
Proper curing is essential for maintaining the structural and aesthetic quality of multi-color silicone components. Follow the manufacturer’s guidelines for curing time and temperature, as variations can affect color stability and bond strength. For example, undercuring may leave the silicone tacky, attracting dirt or ink stains, while overcuring can cause brittleness or discoloration.
Post-curing in an oven or controlled environment helps eliminate residual volatile compounds and improves the silicone’s mechanical properties. For food-grade applications, ensure the post-curing chamber is free from contaminants like dust or chemical fumes. Monitor the temperature closely—exceeding the recommended limit can degrade pigments or weaken adhesive bonds.
After curing, inspect the component for color consistency and bond quality. Use a magnifying glass to check for gaps or misalignments at the joints. If color bleeding occurs, adjust the molding parameters (e.g., reduce injection pressure or increase cooling time) in future batches. For minor imperfections, apply a thin layer of matching silicone paste to conceal gaps, then cure again to blend the repair seamlessly.
Testing Multi-Color Silicone Components for Safety and Performance
Before integrating the components into fountain pens, verify their compliance with food-safety standards. Conduct migration tests by submerging samples in solvents like distilled water or 3% acetic acid for 24 hours at 40°C. Analyze the solvents for traces of pigments, adhesives, or other additives to ensure no harmful substances leach out.
Simulate real-world use by attaching the components to pens and subjecting them to stress tests. Flex the grip or sleeve repeatedly to check for bond failure, and drop the assembled pen from a height of 1 meter onto a hard surface to assess impact resistance. A well-made multi-color component should remain intact and retain its vibrant colors after 50+ cycles of testing.
Gather feedback from users, particularly those who prioritize aesthetics or durability. Ask about the color combinations’ appeal, the visibility of transitions, and the component’s comfort during prolonged use. Use their insights to refine future designs, such as adjusting hue contrasts or simplifying complex patterns for easier manufacturing.


Leave a reply