


Procedure for Making Self-Produced Silicone Beads
Step-by-Step Guide to Making Custom Silicone Beads at Home
Creating your own silicone beads allows for endless creativity in jewelry making, crafts, and decorative projects. With a few basic materials and careful attention to detail, you can produce unique, high-quality beads tailored to your design preferences. This guide walks you through the entire process, from preparing materials to curing and finishing your beads.
Gathering Essential Materials and Tools
Selecting Silicone Compounds
Choose a two-part silicone rubber compound designed for mold-making or crafting. These kits typically include a base and a catalyst that must be mixed in precise ratios. Opt for a food-grade or skin-safe silicone if your beads will be used in accessories like bracelets or necklaces.
Key Considerations:
- Silicone compounds vary in viscosity, from pourable liquids to thicker pastes. Thicker varieties hold intricate details better but may require more effort to mix.
- Ensure the curing time aligns with your project schedule—some silicones set in hours, while others take a full day.
Preparing Molds for Bead Shapes
You’ll need molds to shape your silicone beads. These can be homemade using materials like clay, polymer clay, or carved soap, or you can repurpose household items like bottle caps or small containers. For consistent results, ensure your molds are clean, dry, and free of cracks or imperfections.
Mold-Making Tips:
- If crafting your own molds, use a non-stick release agent like petroleum jelly or cooking spray to prevent the silicone from sticking.
- For multi-cavity molds, arrange your master shapes evenly to ensure uniform bead sizes.
Gathering Mixing and Shaping Tools
You’ll need basic tools to mix and shape your silicone:
- Disposable mixing cups and stir sticks (wooden skewers or plastic spoons work well).
- A timer to track mixing and curing times.
- A craft knife or scissors for trimming excess silicone.
- Optional: Toothpicks or small dowels for creating holes in beads before curing.
Mixing and Coloring the Silicone
Measuring and Combining Components
Follow the manufacturer’s instructions to measure the correct ratio of base to catalyst. Most silicone kits use a 1:1 mix by volume, but some may require weight-based measurements for accuracy. Pour both components into a clean mixing cup and stir thoroughly for at least 3–5 minutes. Scrape the sides and bottom of the cup to ensure even blending.
Common Mistakes to Avoid:
- Under-mixing leads to uncured spots in your beads.
- Over-mixing introduces air bubbles, which create holes or rough surfaces.
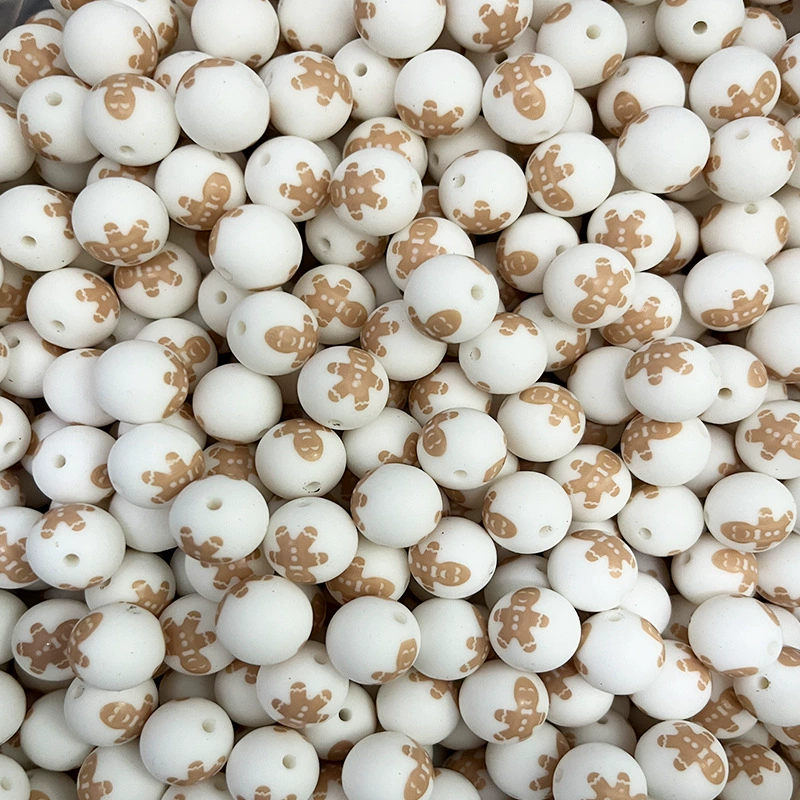
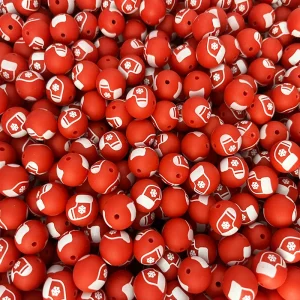
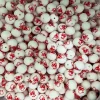
Adding Pigments for Custom Colors
If you want colored beads, incorporate silicone-safe pigments or dyes into the mixture. Start with a small amount (a few drops or a pinch of powder) and adjust until you achieve the desired shade. Mix the pigment in completely to avoid streaks.
Coloring Tips:
- Use opaque pigments for solid colors or translucent dyes for a gem-like effect.
- Test colors on a small batch first to ensure they cure properly without affecting the silicone’s texture.
Degassing the Mixture (Optional)
For a flawless finish, remove trapped air bubbles by degassing the silicone. Place the mixed compound in a vacuum chamber or pressurized pot (if available) and follow the device’s instructions. Alternatively, gently tap the mixing cup on a hard surface for 1–2 minutes to encourage bubbles to rise.
Shaping and Curing the Beads
Pouring Silicone into Molds
Slowly pour the mixed silicone into your prepared molds, filling each cavity to the top. Pour from a low height to minimize air bubbles. If your molds have multiple cavities, tilt the mold slightly as you pour to ensure even distribution.
Handling Tips:
- Wear gloves to protect your hands from sticky silicone.
- Work quickly—some silicone compounds begin curing within minutes of mixing.
Creating Holes for Stringing (Optional)
If you plan to string your beads, insert a toothpick or small dowel into the center of each cavity before the silicone sets. Gently wiggle the tool to create a clean hole. Remove the tool after 10–15 minutes, when the silicone is partially cured but still pliable.
Alternative Method:
- For larger holes, use a straw or a skewer with a larger diameter.
- If you forget to add holes during pouring, drill them after curing using a small drill bit.
Curing the Silicone
Allow the silicone to cure undisturbed for the time recommended by the manufacturer (typically 12–24 hours). Curing times vary based on temperature and humidity—warmer environments speed up the process, while cooler conditions slow it down. Avoid touching or moving the molds during curing to prevent distortions.
Accelerating Cure Time:
- Place the molds in a warm, dry area (but not in direct sunlight, which can cause uneven curing).
- For food-grade silicone, use an oven set to the lowest possible temperature (check manufacturer guidelines first).
Demolding and Finishing the Beads
Removing Beads from Molds
Once fully cured, gently flex the mold to release the beads. If they’re stuck, use a craft knife to carefully loosen the edges. Avoid pulling too hard, as this can stretch or tear the silicone.
Demolding Tricks:
- For deep molds, push from the bottom of the cavity to pop the bead out.
- If the mold is reusable, clean it with soap and water before storing.
Trimming and Smoothing Edges
Use scissors or a craft knife to trim any excess silicone (known as “flash”) from the beads. For a polished look, sand rough edges with fine-grit sandpaper (400–600 grit). Wipe the beads with a damp cloth to remove dust.
Finishing Touches:
- Apply a clear sealant or gloss varnish to enhance shine (optional).
- Use a needle file to enlarge or refine holes if needed.
Storing Finished Beads
Keep your silicone beads in a cool, dry place away from direct sunlight to prevent fading or discoloration. Store them in a labeled container or zip-top bag to stay organized, especially if you’ve made multiple colors or shapes.
By following these steps, you can create professional-looking silicone beads perfect for jewelry, keychains, or decorative accents. Experiment with different colors, shapes, and sizes to develop a signature style that sets your creations apart.


Leave a reply