


Silicone bead adult jewelry making
Elevate Your Style: Crafting Adult Accessories with Silicone Beads
Silicone beads aren’t just for kids—they’re a versatile, modern material perfect for creating sophisticated adult accessories. From statement necklaces to minimalist earrings, these lightweight, hypoallergenic beads offer endless design possibilities. Whether you’re a seasoned crafter or a beginner, here’s how to make stylish, wearable pieces that reflect your personal taste.
Essential Tools and Materials for Adult Jewelry Making
Choosing the Right Beads
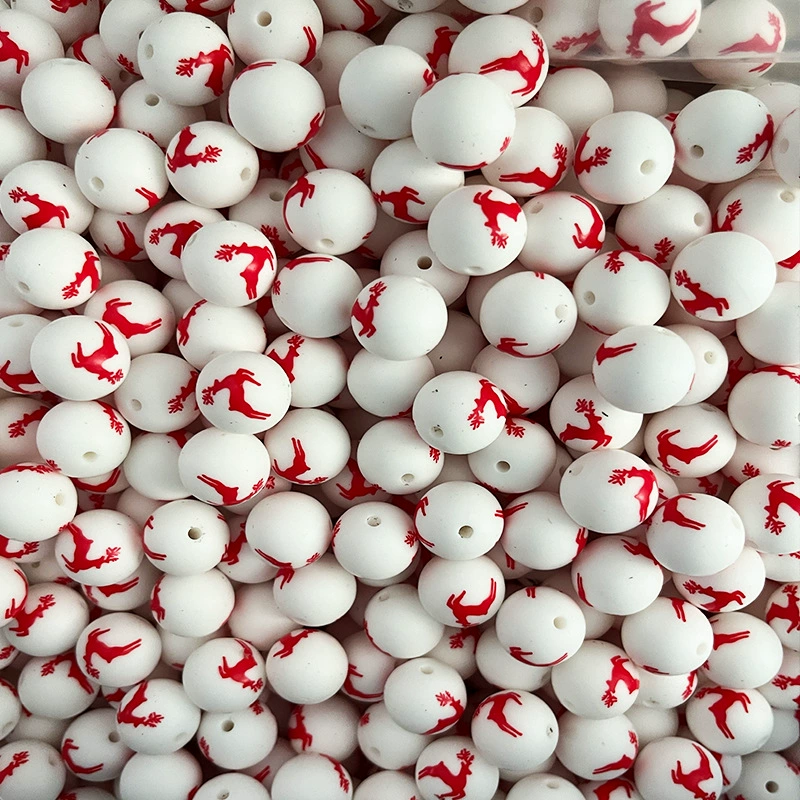
Silicone beads come in a wide range of shapes, sizes, and finishes. For adult accessories, consider:
- Neutral tones: Black, white, gray, or nude beads create elegant, understated pieces.
- Metallic finishes: Gold, silver, or rose gold beads add a touch of glamour without the weight of real metal.
- Geometric shapes: Cubes, cylinders, or hexagons lend a modern, architectural feel to designs.
- Textured beads: Ridges, facets, or matte finishes add visual interest without overwhelming the look.
Must-Have Supplies
To assemble your jewelry, gather:
- Strong, flexible cord (nylon, leather, or waxed thread for durability)
- Jewelry pliers (for opening and closing jump rings or clasps)
- Scissors or wire cutters
- Needle (for threading smaller beads)
- Optional: Lobster clasps, jump rings, or earring hooks for finishing touches
Statement Necklace: Bold and Eye-Catching
A statement necklace is a great way to showcase your creativity. Here’s how to make one:
Designing Your Layout
Start by laying out your beads in a pattern you love. For a balanced look:
- Alternate large and small beads.
- Mix shapes like rounds and cubes.
- Use a color palette of 2–3 shades for cohesion.
Assembling the Necklace
- Measure the cord: Cut a length that fits comfortably over your head (about 24–30 inches for a long necklace).
- Thread the beads: Begin at one end, adding beads in your chosen pattern. Leave about 2 inches of cord unthreaded at each end for attaching the clasp.
- Add a clasp: Attach a lobster clasp to one end of the cord using a jump ring. On the other end, tie a knot and create a small loop for the clasp to hook into.
- Secure the design: Tie a knot above the last bead on each side to prevent them from sliding. Trim excess cord.
Tips for a Professional Finish
- Use a dab of clear glue on knots to keep them secure.
- For a layered look, make two shorter necklaces and wear them together.
- Add a pendant bead or charm to the center for extra impact.
Minimalist Earrings: Simple yet Chic
Minimalist earrings are perfect for everyday wear. Here’s a quick, stylish design:
Selecting Beads and Components
Choose small, lightweight beads (like 6–8mm rounds or cylinders) and earring hooks that match your metal preferences (silver, gold, or rose gold).
Creating the Earrings
- Cut the cord: For drop earrings, cut two 2–3-inch pieces of cord.
- Thread the beads: Add one or two beads to each cord, leaving a small gap at the top.
- Attach the hooks: Fold the top of the cord in half and thread it through the earring hook’s loop. Pull the loose ends through the folded loop and tighten to secure.
- Trim and adjust: Trim any excess cord and ensure the beads hang evenly.
Variations to Try
- Use a single large bead for a bold, modern look.
- Mix bead shapes (like a round bead topped with a cube) for texture.
- Add a tiny tassel or charm for a bohemian touch.
Layered Bracelet Stack: Trendy and Customizable
Layered bracelets are a fun way to mix and match designs. Here’s how to create a cohesive stack:
Planning Your Stack
Decide on a color scheme or theme (e.g., all neutrals, pastels, or metallic tones). Aim for 3–5 bracelets in varying widths and textures.
Making Individual Bracelets
- Measure the cord: Cut a length that fits snugly around your wrist (about 6–8 inches, depending on the bead size).
- Thread the beads: For each bracelet, choose a different pattern:
- Bracelet 1: Alternating small and large beads.
- Bracelet 2: All geometric shapes in one color.
- Bracelet 3: A mix of textured and smooth beads.
- Finish the ends: Tie a knot above the last bead on each side. For elastic cord, stretch it slightly before knotting to ensure a comfortable fit.
Styling Your Stack
- Wear all the bracelets on one wrist for a bold statement.
- Mix metals and finishes for an eclectic look.
- Add a watch or bangle to anchor the stack.
Advanced Techniques for Unique Designs
Incorporating Mixed Materials
Combine silicone beads with other materials like wood, glass, or metal for contrast:
- Pair a silicone bead with a small metal charm for a focal point.
- Use wooden beads as spacers between silicone ones for a natural vibe.
- Add a glass bead as a pendant on a silicone bead necklace.
Creating Beaded Tassels
Tassels add movement and flair to accessories:
- Wrap cord around a small cardboard piece (about 1 inch wide) 10–15 times.
- Slide the wrapped cord off the cardboard and tie a piece of thread tightly around one end.
- Cut the opposite end of the loop to create tassel strands.
- Attach the tassel to a bracelet, necklace, or earrings using a jump ring or by threading it onto the cord.
Experimenting with Knotting Techniques
Macramé-inspired knots can elevate your designs:
- Use square knots to create a braided effect on a bracelet or necklace.
- Try a sliding knot closure for adjustable pieces.
- Incorporate half-hitch knots to add texture between beads.
Caring for Your Silicone Bead Jewelry
Cleaning Tips
- Wipe your jewelry with a damp cloth to remove dirt or oils.
- Avoid harsh chemicals or abrasive cleaners, which can damage the finish.
- For stubborn grime, soak the piece in mild soapy water for a few minutes before rinsing and drying.
Storage Ideas
- Hang necklaces on a jewelry stand to prevent tangling.
- Store bracelets flat in a drawer or box, separated by fabric or tissue paper.
- Keep earrings in a small container with compartments to avoid losing pairs.
Repairing Damaged Pieces
- If a knot comes undone, rethread the cord and tie a new knot, securing it with glue if needed.
- For broken clasps or hooks, use pliers to remove the old component and attach a new one.
- If beads crack or break, replace them with similar-sized ones to maintain the design’s balance.
By exploring these techniques and ideas, you can create adult accessories that are both stylish and meaningful. Silicone beads offer the perfect blend of durability and creativity, allowing you to design pieces that suit your personality and lifestyle. Whether you’re making a gift or treating yourself, these projects are a rewarding way to express your individuality through jewelry.


Leave a reply