


Silicone bead pattern assembly technique
Silicone Bead Pattern Assembly Techniques: A Creative Guide
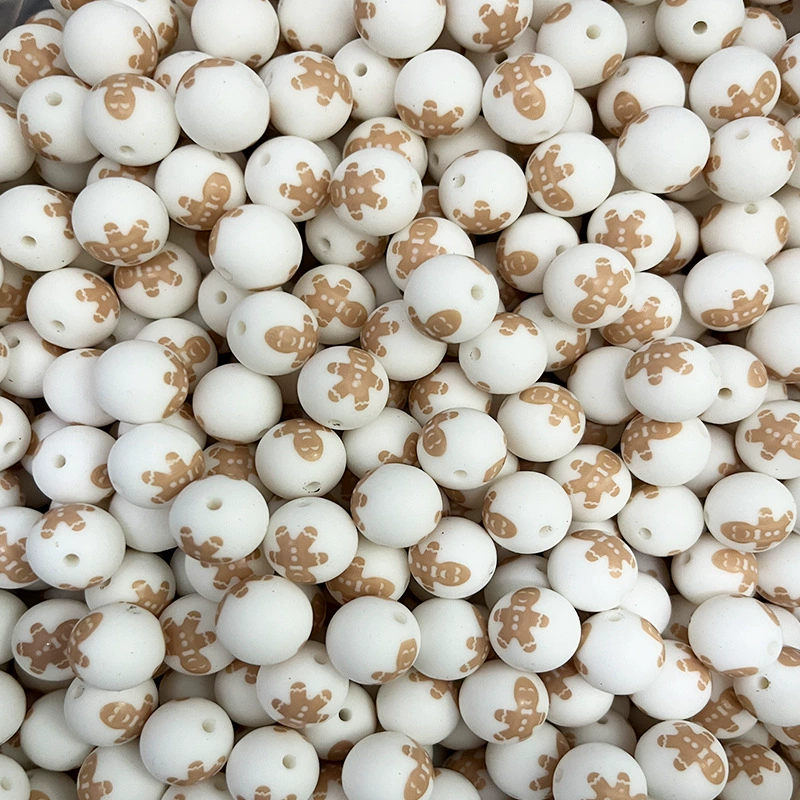
Silicone beads offer endless possibilities for crafting personalized accessories, decorative items, and functional products. Their flexibility, durability, and vibrant color options make them ideal for creating intricate patterns. Whether you’re designing a keychain, bracelet, or wall art, mastering pattern assembly techniques ensures professional-looking results. Here’s how to elevate your silicone bead projects with precision and creativity.
Understanding Pattern Design Principles
Before assembling beads, visualize your pattern. Start with simple geometric shapes like stripes, chevrons, or polka dots, then progress to complex designs such as floral motifs or abstract patterns. Sketch your idea on paper or use digital tools to map out color placement and bead arrangement. This step helps avoid mistakes and ensures symmetry in your final piece.
Consider the scale of your project. Smaller items like keychains benefit from bold, high-contrast patterns, while larger pieces like wall hangings allow for detailed, multi-layered designs. Balance color intensity by alternating bright and neutral tones to create visual interest without overwhelming the viewer.
Essential Tools and Materials
While silicone beads require minimal tools, a few basics streamline the assembly process:
- Flexible Cord or Thread: Choose a material that fits snugly through bead holes without stretching. Nylon or silicone-coated cords work well for most projects.
- Needle or Hook: A thin, sturdy needle helps thread beads efficiently, especially for intricate patterns.
- Scissors or Wire Cutters: Precision cutting tools ensure clean ends when adjusting cord length.
- Work Surface: A flat, non-slip surface keeps beads organized and prevents rolling during assembly.
For 3D designs or curved surfaces, consider using molds or formers to shape your project as you assemble beads. This technique is particularly useful for creating spherical ornaments or textured wall art.
Step-by-Step Assembly Methods
Linear Patterns: Stripes and Grids
Linear patterns are ideal for beginners. Start by threading beads in alternating colors to create stripes. For grids, divide your cord into sections and thread beads in rows, ensuring each row aligns perfectly with the one below. Use a ruler or grid template to maintain consistency.
To add depth, vary bead sizes within the same row. For example, combine small and large beads to create a staggered effect. Secure each row by tying a knot or using a bead stopper to prevent sliding during assembly.
Geometric Patterns: Triangles and Hexagons
Geometric patterns require careful planning but yield striking results. Begin by mapping out your shape on paper, then translate it into bead placement. For triangles, thread beads in a zigzag motion, alternating directions to form the shape. Hexagons follow a similar logic but require six sides of equal length.
Use contrasting colors to highlight edges and angles. For example, outline a triangle in black beads and fill it with bright colors to make the shape pop. Secure each corner with a double knot or a small spacer bead to maintain structure.
Curved Patterns: Florals and Swirls
Curved patterns demand patience and precision. Start with a central bead or focal point, then build outward in a spiral or petal-like formation. For floral designs, alternate bead colors to mimic petals and centers. Use smaller beads for details like stems or leaves.
To create smooth curves, gently bend the cord as you thread beads. Avoid pulling too tightly, as this can distort the shape. For swirls, thread beads in a continuous loop, gradually increasing or decreasing bead size to achieve a tapered effect.
Troubleshooting Common Challenges
- Uneven Tension: If your pattern looks lopsided, adjust the tension by gently pulling or loosening the cord. Practice maintaining consistent pressure as you thread beads.
- Bead Slippage: Use bead stoppers or temporary knots to hold beads in place during assembly. For 3D projects, secure layers with small drops of non-toxic glue designed for crafts.
- Color Bleeding: If beads transfer color onto your hands or surface, wear gloves and work on a protected area. Rinse beads in cold water before assembly to remove excess dye.
Final Touches and Care
Once assembled, inspect your pattern for gaps or misaligned beads. Use tweezers to adjust individual beads if needed. For added durability, reinforce knots with a dot of clear glue or by melting the cord ends slightly (if using nylon).
To clean silicone be wipe them with a damp cloth and mild soap. Avoid harsh chemicals or abrasive scrubbers, as these can damage the beads’ finish. Store items flat or hanging to prevent creasing or distortion.
By mastering these techniques, you can transform simple silicone beads into eye-catching patterns that reflect your personal style. Experiment with colors, shapes, and textures to discover endless creative possibilities.


Leave a reply