


Three-dimensional relief effect of food-grade silicone jewelry
Creating Dimensional Bas-Relief Effects in Food-Grade Silicone Jewelry
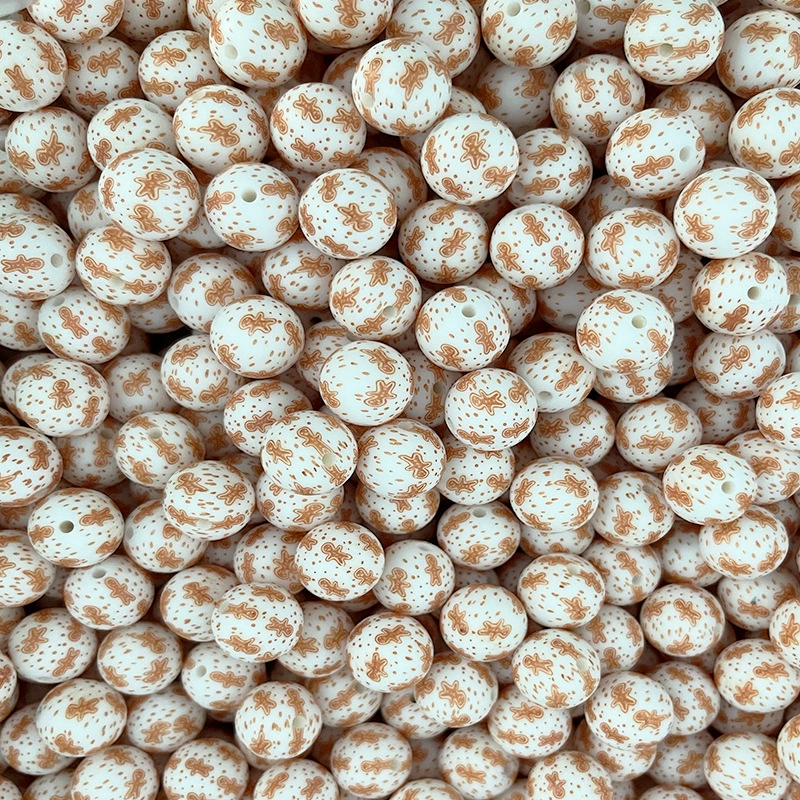
Food-grade silicone’s pliability and moldability make it an ideal medium for crafting jewelry with intricate 3D textures, particularly bas-relief designs that add depth without compromising safety or comfort. This technique allows designers to mimic the tactile richness of carved stone or metalwork while maintaining the lightweight, hypoallergenic properties of silicone. Below are advanced methods to achieve striking dimensional effects that elevate silicone jewelry from flat accessories to wearable art.
Mastering Mold Design for Precise Depth and Detail
The foundation of a successful bas-relief effect lies in the mold. Unlike flat designs, dimensional pieces require molds with varying cavity depths to create layers and shadows. Start by sketching the design in profile to visualize how each element will rise from the surface. Use digital modeling software to refine the proportions, ensuring features like flowers, geometric patterns, or abstract motifs have clear foreground and background elements. For example, a floral pendant might feature deeply etched petals in the center with shallower, overlapping leaves around the edges to create a sense of perspective.
When carving the master mold (typically from clay, resin, or 3D-printed plastic), prioritize smooth transitions between layers. Sharp edges can trap air during curing, leading to bubbles or uneven surfaces. Sand rough areas with fine-grit sandpaper and polish the mold with a silicone-friendly lubricant to ensure easy release. For complex designs, consider creating a multi-part mold that allows for undercuts or overhanging details, such as the curved wings of a dragonfly or the spiral of a seashell.
Layering Silicone for Multi-Level Textures
To enhance dimensionality, experiment with layering silicone of different colors or opacities. Begin by pouring a base layer of translucent silicone into the mold’s deepest sections, such as the center of a sunburst pattern or the grooves of a tribal motif. After partial curing (usually 5–10 minutes, depending on the silicone’s viscosity), add a second layer in a contrasting color or finish—like metallic glitter or opaque pastel—to fill the shallower areas. This technique creates a “watercolor” effect where colors blend at the edges, emphasizing the design’s contours.
For a more dramatic look, use a third layer to add raised accents, such as dots along a vine or stars on a celestial pendant. Press these elements into the semi-cured silicone using a silicone-tipped tool to avoid sticking, then let the piece cure fully. The result is a textured surface with visible depth variation, where light catches the raised portions differently than the recessed areas, enhancing the bas-relief’s visual impact.
Incorporating Negative Space to Define Dimensional Forms
Negative space—the empty areas around and within a design—can amplify the illusion of depth. Instead of filling the entire mold with silicone, leave intentional gaps to create cut-out patterns or floating elements. For instance, a pendant shaped like a tree could have silicone “branches” extending from a central trunk, with open spaces between them that reveal the wearer’s skin or clothing underneath. This interplay of solid and void adds dynamism and makes the piece feel lighter despite its 3D structure.
Another approach is to use negative space to highlight specific details. Carve thin, shallow channels into the mold’s surface (e.g., radiating lines around a gemstone shape or parallel grooves on a bar necklace) and fill them with a contrasting silicone color. When the piece is demolded, these channels appear as raised ridges against a smoother background, drawing attention to the design’s focal points.
Enhancing Texture with Additives and Surface Treatments
Even with precise molding, silicone’s naturally smooth surface can mute dimensional effects. Combat this by incorporating texture-enhancing additives during mixing. Microbeads, crushed mineral powders, or fine glitter create a gritty, organic feel that catches the light differently than flat silicone. For a subtle sparkle, mix in a small amount of iridescent mica powder, which settles into the mold’s crevices during curing and creates a shimmering gradient from light to dark.
Post-curing surface treatments can also amplify texture. Use a heat gun on a low setting to gently warm the silicone, causing it to shrink slightly and accentuate fine details like the veins of a leaf or the scales of a fish. Alternatively, apply a thin layer of food-grade silicone gel to the raised portions of the design, then dust it with powdered pigment (e.g., charcoal for a stone-like finish or gold for a metallic sheen). Wipe away excess pigment with a soft brush, leaving color only in the recessed areas to create a “stained” effect that emphasizes depth.
Balancing Flexibility and Structural Integrity in Complex Designs
While dimensional silicone jewelry is visually striking, it must remain durable enough to withstand bending and stretching. Avoid overly thin or fragile protrusions by maintaining a minimum thickness of 2–3mm for raised elements. Reinforce delicate features, such as the spines of a starfish pendant or the petals of a flower, by embedding a mesh of food-grade silicone fabric or thin wire (coated in silicone to prevent rust) into the base layer before adding dimensional details.
Test the flexibility of finished pieces by gently bending them at the thinnest points, such as the connection between a pendant and its bail or the center of a bracelet. If the silicone cracks or whitens (a sign of stress), adjust the design by reducing the height of raised elements or redistributing material to thicker areas. For extra durability, cure the piece for a full 24 hours at room temperature, followed by a 2-hour post-cure in a low-heat oven (around 150°F or 65°C) to strengthen the silicone bonds.
By combining meticulous mold-making, strategic layering, and thoughtful texture treatments, designers can transform food-grade silicone into jewelry that rivals the complexity of traditional sculpted materials. These techniques not only cater to the growing demand for unique, tactile accessories but also ensure that each piece remains safe, comfortable, and visually captivating for everyday wear.


Leave a reply